ComfyUI Workflows
Browse real AI workflows from Flux, SDXL, Pony, ControlNet, video generation and commercial AI creators.

Characters generator | Generation of detailed сharacter for full body
V1.3 - Anima:- This is the version for Anima, I really liked it.- Added frame control to prevent the character from moving out of the frameV1.2:- Added "ControlNet"Some people have asked me to share my character workflow.Why not?So I refined it and added a randomizer, enjoy!WARNING! This method does not work well with V-Pred models.

ComfyUI Image Workflows
Workflow for XL/Illustrious/NoobAI ModelsAny feedback would be appreciated.See the Article for a Guide:https://civitai.com/articles/17339 (probably doesn't work rn)https://civitai.red/articles/17339Key Features:LoRATIPO PromptingDetail EnhancersControlNet UpscaleIPAdapterHiresFixOpenPoseWildcardsControlNETColor MatchFBCNNRegional PromptingInpaintOutpaintWorkflows included:🟥Advanced: comprehensive text to image workflow🟨Basic: more basic version of the Standard workflow🟦Standard: more basic version of the Advanced workflow🟩Detailer: detailing previously generated or existing imagesExperiment and enjoy!

NoobAI/Illustrious Workflow
Just a simple ComfyUI workflow for NoobAI/Illustrious

Ultra photo-realistic workflow | refiner, upscaling, FaceDetailer (+index elements), inpainting, controlnet, Civitai Metadata (NOOBAI-XL/ILLUSTRIOUS/SDXL) ComfyUi
STEPS BASE (after this value the refiner kicks in) should never exceed the value of TOTAL STEPS unless you want to use only the first KSampler.I like 10:14, increase total steps for realism, these are set for models in suggested resources, Uncanny valley and Fabled Illusion XXXL - (N/SFW), I really recommend downloading them, both are the best I found for their respective roles, feel free to comment your best values!The main appeal of this workflow is using illustrious/noobai-xl model to setup complex poses or characters and refine it with an sdxl photorealistic checkpoint.Version 5.5 has additional 1080p version file.I don't make new versions for small quality of life updates, download the file for the latest version.

Sillytavern Expressions Workflow
Another ST workflow, but hopefully not as big as some of the others I've seen. On my 3060, images take 15s to finish, and all 28 takes about 7 minutes. Updates are mostly to fix node problems. If yours works, there's no need to update. Works best on images with black backgrounds.There are more instructions in the workflow, but the most important thing to remember is to set the batch size to 28 to get all the emotes.Nodes aligned with NodeAligner:https://github.com/Tenney95/ComfyUI-NodeAlignerThis was made with a version of Comfy with an older version of Python (from 6/27/25). Newer versions have some crap about WAS Suite and whatever OpenCV is that prevents Comfy from launching properly.

ComfyUI workflow with Regional Prompt for couple focus V3
Regional prompt workflow for XL ModelsThis is a combination of some workflow I'v used in the past or recently.Most of the part from the regional prompt was originally on this workflowHuge thx to @zml_w for all the testing and the helpI'v just found that Levpat might be banned or deleted account Upscale Method for V2 by @LevPat https://civitai.com/models/1994653/custom-upscale-flowUSER GUIDEhttps://civitai.com/articles/18257For V3 Merged WorkflowMerged the two method into one workflow, you can now toggle between Dense Diffusion and Attention coupleChanged the detailer method, I'v kept Couple Face Detail group (for some image it's ok)Now I'm mostly using a method from MGHerderFound on this workflowAdded some settings to the Face detailer, I'v linked all the merged text prompt to the positive on the first two SEGS for each two characters, you can swicth between character (I couldn't find a good way to had wildcard or overwrite prompt on the SEGS detailer)Added SeedVr2 upscale you will need to download the model and VAE for it to workAdded a more simple and lighter latent UpscaleI'v kept the Advanced latent upscale (was called Crazy Upscale before) linked all the text positive and negative prompt to it, converted to subgraph all the noodlesKept the USDU upscale in some use it can be good tooBasically you have now 4 upscale method to choose with, you can delete the Upscale group you don't want it will not break the workflow.You will need all the the custom nodes below that was used for V2 and all the followinghttps://github.com/numz/ComfyUI-SeedVR2_VideoUpscaler (If you want to use it)https://github.com/mcmonkeyprojects/sd-dynamic-thresholdinghttps://github.com/chrisgoringe/cg-use-everywherehttps://github.com/BlenderNeko/ComfyUI_ADV_CLIP_embhttps://github.com/LAOGOU-666/Comfyui-Memory_Cleanuphttps://github.com/Extraltodeus/Skimmed_CFGhttps://github.com/mirabarukaso/ComfyUI_Mirahttps://github.com/ltdrdata/was-node-suite-comfyuiFOR V2 Dense Diffusion and Attention CoupleI'v made two separate workflow with different Regional prompt method, both of them are in the archive if you want to try.Dense DiffusionSo the error "The size of tensor a (924) must match the size of tensor b (308) at non-singleton dimension 3"Is still here with Dense Diffusion BUT now I know 100% why it happens, so I will detail everythings how to avoid it.First you can put almost everything in every positive prompt, a lot of detail or action for left char and almost nothing for 2nd character will not trigger this error.The only way this error will pop is Positive VS Negative Prompt.So why it happens then, almost exclusivly with Embedings, because of Tokens count and the way Dense Diffusion work, the size of Tokens need to be almost the same, and when you put emebeddings, like Lazyhand, Lazyneg, etc will use a lot of Tokens (more exactly tokens Chunks)So how to avoid it, you can either not use emebeddings at all, I'v added note on the workflow with good (I think) quality prompt.You can still use Embeddings but you wiil need to balance them between positive and Negative. So for example if you put Lazyhand + Lazyneg in Negative, you will need to use at least one or more embeddings in the positive quality to get the same size of Tokens chunks.So because of that I'v added a custom nodes made by me (and GPT) to Normalize the negative quality, you can either turn it off or on, I'v put pics for comparaison in the archive.If you'r not happy or don't like this method I'v made another Workflow with a different nodes called Attention couple.Attention CoupleWith Attention Couple this error will never pop, then why not using it and getting rid of Dense Diffusion ?Attention couple work great and can have pretty good result, but in my testing I saw two major flaw with it.First the Lora did not get applied the same way with it, Dense Diffusion seems to have a better blend for the model and loras.Second the interaction seems more difficult too, I did not use it very extensively but the few image I'v made seems to have less prompt adherence.Here is every nodes you will need for bothFor Dense Diffusionhttps://github.com/Fannovel16/comfyui_controlnet_auxhttps://github.com/ltdrdata/ComfyUI-Impact-Packhttps://github.com/rgthree/rgthree-comfyhttps://github.com/yolain/ComfyUI-Easy-Usehttps://github.com/kijai/ComfyUI-KJNodeshttps://github.com/ssitu/ComfyUI_UltimateSDUpscalehttps://github.com/cubiq/ComfyUI_essentialshttps://github.com/ClownsharkBatwing/RES4LYFhttps://github.com/giriss/comfy-image-saverhttps://github.com/shiimizu/ComfyUI_smZNodeshttps://github.com/ltdrdata/ComfyUI-Impact-Subpackhttps://github.com/huchenlei/ComfyUI_densediffusionhttps://github.com/edelvarden/comfyui_image_metadata_extensionhttps://github.com/rcsaquino/comfyui-custom-nodeshttps://github.com/zml-w/ComfyUI-ZML-Image(https://github.com/zml-w/ZZZ_ZML_English_Patch)A small custom node is in the archive for the Negative Normalization, just need to put it in custom nodes folder. No requirements needed.For Attention CoupleEverythings above +https://github.com/BlenderNeko/ComfyUI_ADV_CLIP_embhttps://github.com/laksjdjf/cgem156-ComfyUIIf you have trouble with FAILED IMPORT for cgem156 you can try this fixhttps://github.com/laksjdjf/cgem156-ComfyUI/issues/17#issuecomment-2918745574Worked for me with ComfyUI desktop AppOlder VersionI'v added a chain sampler because I love this method, the render time and the result it gave.This is quiet an advanced workflow so you will need a lot of custom nodes, some may not work with ComfyUI manager, I will link them here if you want to install manually.Make sure you activate your venv environment for the requirements.txt for custom nodes.There is a simplified version in the archive if you want to try without all the nodes for HiresFix, Face detailer, upscale and color match.I'm not responsible if you break your ComfyUI install, some of the nodes may use different Pytorch version or requirements you already use.https://github.com/ltdrdata/ComfyUI-Impact-Packhttps://github.com/pythongosssss/ComfyUI-Custom-Scriptshttps://github.com/rgthree/rgthree-comfyhttps://github.com/yolain/ComfyUI-Easy-Usehttps://github.com/shadowcz007/comfyui-mixlab-nodeshttps://github.com/jags111/efficiency-nodes-comfyuihttps://github.com/ssitu/ComfyUI_UltimateSDUpscalehttps://github.com/Suzie1/ComfyUI_Comfyroll_CustomNodeshttps://github.com/cubiq/ComfyUI_essentialshttps://github.com/ClownsharkBatwing/RES4LYFhttps://github.com/ltdrdata/ComfyUI-Impact-Subpackhttps://github.com/huchenlei/ComfyUI_densediffusionhttps://github.com/edelvarden/comfyui_image_metadata_extensionhttps://github.com/Miosp/ComfyUI-FBCNNhttps://github.com/rcsaquino/comfyui-custom-nodeshttps://github.com/weilin9999/WeiLin-ComfyUI-prompt-all-in-oneDeprecated version use this one instead, I'v fixed the workflow with the new onehttps://github.com/weilin9999/WeiLin-Comfyui-ToolsFor V1 Multimaskhttps://github.com/chflame163/ComfyUI_LayerStylehttps://github.com/kijai/ComfyUI-KJNodeshttps://github.com/chrisgoringe/cg-use-everywherehttps://github.com/giriss/comfy-image-saver

LoRA Stack Weight Optimizer - Perfect Blends
Add as many LoRAs as you want.The optimizer automatically balances their weights to prevent conflicts.• Automatic LoRA balancing• Hires Fix included• Create Perfectly Balanced LoRA StacksRequired Custom Nodes1. ComfyUI-Easy-Usehttps://github.com/yolain/ComfyUI-Easy-Use2. ComfyUI-Impact-Packhttps://github.com/ltdrdata/ComfyUI-Impact-Pack3. ComfyUI-mxToolkithttps://github.com/Smirnov75/ComfyUI-mxToolkit4. ComfyUI-Image-Saverhttps://github.com/giriss/comfy-image-saver5. ComfyUI-LoRA-Optimizerhttps://github.com/ethanfel/ComfyUI-LoRA-Optimizer

ComfyUI beginner friendly NoobAI Text-to-Image Workflow with Easy Prompt Saver by Sarcastic TOFU
This is a very simple workflow that helps you to save your NoobAI Text to Image Generation Data into a human readable .txt file. This will automatically get and write your metadata to the .txt file. You will find all the saved prompt files that it generated with the images inside the Archive (.Zip) that has the workflow. Also with the Image Saver Simple node used you may embed the workflow itself with each saved image or save the image and workflow for your work seperately. You will get your prompts in this way inside a readable .txt file for each image generated (matching Automatic1111 / EasyDiffusion's .txt outputs) - Positive Prompt ------------------- memaxl6_e,1girl,walking,falling autumn leaves,tree,wind,black hair,hime cut,hand in own hair,looking to the side,small breasts,japanese samurai dress,holding sword, wind,outdoors,temple,winter,cloudy sky,angry eyes <lora:MeMax6-noob-vpred:1.0> Negative Prompt ------------------- extra limbs, bad anatomy, text, watermark, signature, letters, lowres, out of frame, cartoon, fluffy, sketch, monochrome, partially colored, messy lines. Seed # - 53635736408359 Steps - 25 CFG - 5.0 Sampler - euler Denoise Strength - 1.0As you can see this is very much readable and ideal for easy reference reuse if you want to reuse the prompt on a different tool like WebUI Forge or Easy Diffusion or something else. This saves the weights of LORAs. You can download your necessary NoobAI model and LORA used from CivitAI (Details are mentioned below). Make sure you have latest enough ComfyUI installation and install any necessary nodes for for this workflow using ComfyUI manager and place the correct files (NoobAI model, LORA etc) in correct places. Also check out my other workflows for SD 1.5 + SDXL 1.0, Pony, WAN 2.1, WAN 2.2, MagicWAN Image v2, QWEN, HunyuanImage-2.1, HiDream, KREA, Chroma, AuraFlow, Illustrious, Lumina2, Z-Image Turbo, Flux.2 Klein and Flux.1 . Feel free to toss some yellow Buzz on stuffs you like.How to use this -#1. Just select your desired NoobAI model first and now#2. set your desired image dimensions to start#3. then input your desired image prompt.#4. select how many images you want (Change the number besides the "Run" button)#5. select image sampling methods, CFG, steps etc. settings#6. finally press the run button to generate. That's it..** LORA usage for this workflow is optional you can use it without any LORAs, use with 1 or 2 or any other number of LORAs. to add new LORAs press the L button on top to lunch LORA Manager on a new tab find your LORA and if you want to use that LORA just click the upward Kite button.Required Files===============NoobAI Model Files used -### Download Link for NoobAI Model-----------------------------------Colorfixed NoobAI-XL (NAI-XL) V-pred -https://civitai.com/models/1672827?modelVersionId=2041281### Download Link for NoobAI Model VAE---------------------------------------Crystal - VAE [SDXL/Illustrious] v3 -https://civitai.com/models/2179383/crystal-vae-sdxlillustrious?modelVersionId=2559586LORA used===========MeMaXL Flat Anime Style ---------------------------https://civitai.com/models/269772?modelVersionId=2488710
Smooth Workflow (txt2img)
SMOOTH WORKFLOWUPDATE: Smooth Workflow v.4!With support for ZImage! Choose between a a workflow for ZImage or Illustrious/Pony generations.Made it very simple to use. ^^Both Workflows have to option to save with or without Adetailer/Face Detailer.All images on the Showcase used the new SmoothMix Ultimate ZImage Turbo model!ZImage parameters are very different for the Illustrious/Pony models. Make sure to not confuse them.ComfyUI updates can be very frustating as they can make many extension incompatible/stop working - So I tried to use as little extensions as possible on v.4.Shout out to Martin Rizzo (@Photographer) for making probably the best 'Save Image' Node compatible with CivitAI. It just works! =DUsed extensions on v.4:ComfyUI-KJNodesComfyUI-mxToolkitComfyUI-Easy-Usergthree-comfyComfyUI-ZImagePowerNodesComfyUI-Impact-Pack and ComfyUI-Impact-SubpackSmall UPDATE: Smooth Workflow v3.1!Facedetailer should work much better.Used extensions:Save image with generation metadataComfyUI-Easy-UseComfyUI-Image-SaverComfyUI-Impact-Pack and ComfyUI-Impact-SubpackComfyUI-mxToolkitAdvanced CLIP Text Encode (needed for workflow v.2 and v.3)ComfyUI-FBCNN (Flexible Blind JPEG Artifacts Removal) (needed for workflow v.3)UPDATE: Smooth Workflow v3!Changed the node used for Positive Prompts: and ComfyUI-Impact-SubpackThe image results should propely show the effect of adding weights to LoRAs now!The Positive Node is now divide 2 areas. Your Positive Prompt goes on the top one!Use "Select to add LoRA" to open a list of all LoRAs you have installed!Lets say you select "Smooth Booster v.3" on your list. It will show up on the prompt as <your_Loras_path\Smooth_Booster_v3>.Remember to set the Weight you want on the end!! <your_Loras_path\Smooth_Booster_v3:0.5> Like so!Check the showcase image for an example!The bottom area is used to show the prompt that was executed. Its used for adding Wildcards and see the prompt used in the execution. If you don't use Wildcards don't worry about it. For more info check its Github on the Wildcards Nodes section.Added extension: Flexible Blind JPEG Artifacts RemovalAdded Compression Removal to the "(7) SAVE IMAGE" section.This is a JPEG artifact/compression removal tool to help clean up the image a little. Its set to "auto detect - enable" by default!More advanced users can disable it an modify the compression level as they wish.For an indepth look at it check this Github!For a even more indepth look check the Paper on Cornell Unniversity.===========================================================UPDATE: Smooth Workflow v2!Added extension: Advanced CLIP Text EncodeAdded CLIP to the "(4) IMAGE PARAMETERS" section.If you are having dificulties recreating images from CivitAI or tools using A1111, like Forge, selecting "stop_at_clip_layer" to -2 will help to recreate images similar to those more easily.For more advanced users the Advanced CLIP Text Encode was added to the "(3) PROMPTS" sectionWith these you can change both "weight_interpretation" between A1111, ComfyUI and others. For more info check the GitHub.==========================================================Its divided in sections to make it easy for begginers to navigate.(1) CHECKPOINT / VAEVery straight foward. Just choose your Checkpoint and VAE.(2) IMAGE SIZESelect your image size. I can freely adjust it. By default its set at 832x1216 since its the one used by CivitAI.(3) PROMPTSType your positive and negative promtps here.To use embeddings use this format: embedding:your_embedding_hereExample: embedding:SmoothNoob_QualityTo use Loras, use this format: <lora:you_lora_here:weight_number_here>Example: <lora:Smooth_Booster:0.5>Doing so will make sure CivitAI can detect your embeddings and loras propely.(4) IMAGE PARAMETERSSet the number of STEPS and CFG. By default its set as STEPS: 30 and CFG: 5.0.Choose the Sampler and the Scheduler. By default its set as Sampler: DpmPP2M and Scheduler: KarrasYou can also set the SEED in this section.(5) HIRESFIXHere the HiresFix will Rescale your image. You can choose the method: "by percentage", "set Width/Weight" or "to longer side - maintaing aspect". By default its set "By percentage" at 40. This will upscale your image to 1328x1944 if you set image size as 832x1216. Choose your favorite method.Make sure to set your favorite upscaler model as well. By default its set to REMACRI.(6) ADETAILERHere you can adjust the face detailer. The default settings work really well already but feel free to make any adjustments.(7) SAVE IMAGEHere you can choose the path your images will be saved.I installed ComfyUI using StabilityMatrix, so I set my path to F:\StabilityMatrix\Images\Text2Img\%date.Remember to change this in accordance to your PC settings. I recommend leaving the %date since it create a folder with the date the images were created. It helps keeping everything in order.=======================================================Other recommend extensions:ComfyUI-ManagerComfyUI_essentialsComfyUI_PNGInfo_SidebarComfyUI-Custom-ScriptsComfyUI-Autocomplete-Plus

Img2Img _ Base + Refiner + Detailer _ ComfyUI _ SDXL ILLU NOOBAI PONY SD1.5 Etc _ Crix
Workflow I use when I want to create precisely, starting from an image.This is an Img2Img Workflow to have your images already optimized with just one Workflow!This workflow contains:BASE Img2Img to create your images,REFINER to immediately obtain a good-quality image,DETAILER to obtain precisely detailed faces and bodies if you create people,UPSCALER to obtain a super-quality image,SAVER to save your images with the right information, ready for publication,NOTES to make the most of the workflow.It has custom nodes, to use it you need to install them through "Manage custom node"Not interested in everything? NO PROBLEM!Each of these things can be disabled so that the workflow can work even when you don't need "refiner", "detailer", etc etc!!!If something doesn't work, you have questions, or you need help, message me! I'm happy to help!

Insanity AIO Upscaler/Detailer | SDXL~Illustrious~NoobAI~Flux
I was tired if having to constantly switch nodes around when upscaling, so I made this all-in-one, easy to use workflow to cover all of my upscaling needs.I figured someone might find this useful as well, so I polished it up a bit, and here it is :)TL;DR:This is an all-in-one, multi-pass upscaling and detailing workflow for SDXL (incl. Illustrious, NoobAI, etc) and Flux.It puts plenty of powerful nodes and techniques at your fingertips, allowing you to upscale an image as much as you want, adding details while retaining the original composition and avoiding deformation/doubling.There are many settings that allow you to choose exactly how much detail to add, and how similar to the original image the output will be.It's "plug and play", and you won't need to bypass or reroute any nodes. Everything is controlled via toggles and sliders.I consider this workflow fairly beginner friendly, as you don't need to mess around with any nodes, but the more knowledge you have, the better you'll be able to wield this workflow.PS: It also works great for img2img, with or without upscaling!MAIN FEATURES:Multi-pass Upscaling:You can choose in how many passes the original image will be upscaled to the target factor, scaling linearly and ensuring that each pass increases the resolution by the same amount of pixels. Many parameters have a "First Pass" and "Last Pass" value, that will scale the values throughout the passes. This allows for a high degree of flexibility, letting you choose when to give more freedom to the model, and when to restrain it to prevent oddities or unwanted changes.Composition Retention:You have many tools at your disposal to help retain the composition of the original image, such as: A ControlNet (with up to 3 preprocessors at the same time), ClownGuide, the Unsample/Resample technique, scaling values, and even more. These allow you to use very high Denoise values while upscaling, which is useful to add new, coherent details while still maintaining the original composition.Detail Injection:You can add as much or as little detail to the picture as you like, both big and small. There is a plethora of settings to inject noise into the image that, when used in conjunction with the other parameters, will allow you to fine-tune the details of your output. At higher resolutions, you can add extremely fine details.Note: The model and LoRAs you use can have a significant impact on the type and level of detail that can be achieved.Tiled Upscale:Tiled upscaling can be toggled on and off, and is fully integrated into this workflow using the Tiled Diffusion nodes.All of the settings also work with tiled upscaling, but make sure to use a tiled ControlNet!Latent & Model Upscale:By default, all upscaling is done to the latent, only encoding and decoding the image once, preserving quality. There is also the option to use an upscale model, although you lose the benefits of latent upscaling, as upscale models cannot work on latents.Ease of Use:Everything is controlled via UI nodes, with sliders and toggles. You won't need to hop around the workflow to tweak settings, as everything is grouped in a control panel, without the need to bypass or reroute anything. Just load your image, tweak the settings as desired, and you're good to go.Also, every option works with every other option! You can safely use any combination of settings without breaking the workflow (unless I missed a bug somewhere).Dual Phase & Switch Passes:The workflow uses two phases, both of which can be toggled on or off independently, allowing you to completely switch settings after a certain number of passes. For example, you can upscale normally in Phase 1, and then use Tiled Upscaling in Phase 2.There is also the option to enable a "Switch Pass" during each phase, that allows you to change sampler, scheduler, and/or multiply many parameters during certain passes.IMG2IMG:This workflow can also be used for img2img, with or without upscaling. By allowing the model enough freedom, and changing your prompt accordingly, you can alter the style of the image, or change any number of things within it. You can also use a different model than the original image's to completely change style.Check out the example images at the top of the page to see a couple of examples of what can be done.Monitoring & Previews:There is a "Live Monitor" that updates at every pass, showing the values in use for the current pass. On top of that, there are image previews for the following things: Latest Pass, Phase 1 Result, Phase 2 Result, Final Result (after post-processing), ControlNet (blending every preprocessor in use into a single preview image).Each preview will update throughout the workflow's execution when opportune.GGUF Support:Both .safetensors and .GGUF models are fully supported, including the VAE and CLIP.Offloading to Secondary Device:You can offload the CLIP, VAE, or even the main model to the CPU (or a second GPU), freeing VRAM.RES4LYF:This workflow uses the ClownShark samplers, and employs some powerful RES4LYF nodes, allowing you to tweak the sampling process in many meaningful ways.Documentation:Below every section you'll find a note, briefly explaining the settings and how they may affect your output.If you're unsure about the function of something, you'll probably find the answer in those notes.

V prediect workflow (illustrious/ Noobai) + tagger
CH:這個工作流可以進行V預測的模型推理。優點是可以自動調節CFG的數值,讓圖片始終保持在合適的顏色。如果有缺失節點,可以通過comfyui內建的功能或是通過github下載Automatic CFG: https://github.com/Extraltodeus/ComfyUI-AutomaticCFGWD14-tagger: https://github.com/pythongosssss/ComfyUI-WD14-TaggerEN: This workflow works with the V-prediction model and automatically adjusts the CFG to keep the image colors accurate.If there is any miss node. You can download it from there or Comfyui function.Automatic CFG: https://github.com/Extraltodeus/ComfyUI-AutomaticCFGWD14-tagger: https://github.com/pythongosssss/ComfyUI-WD14-Tagger
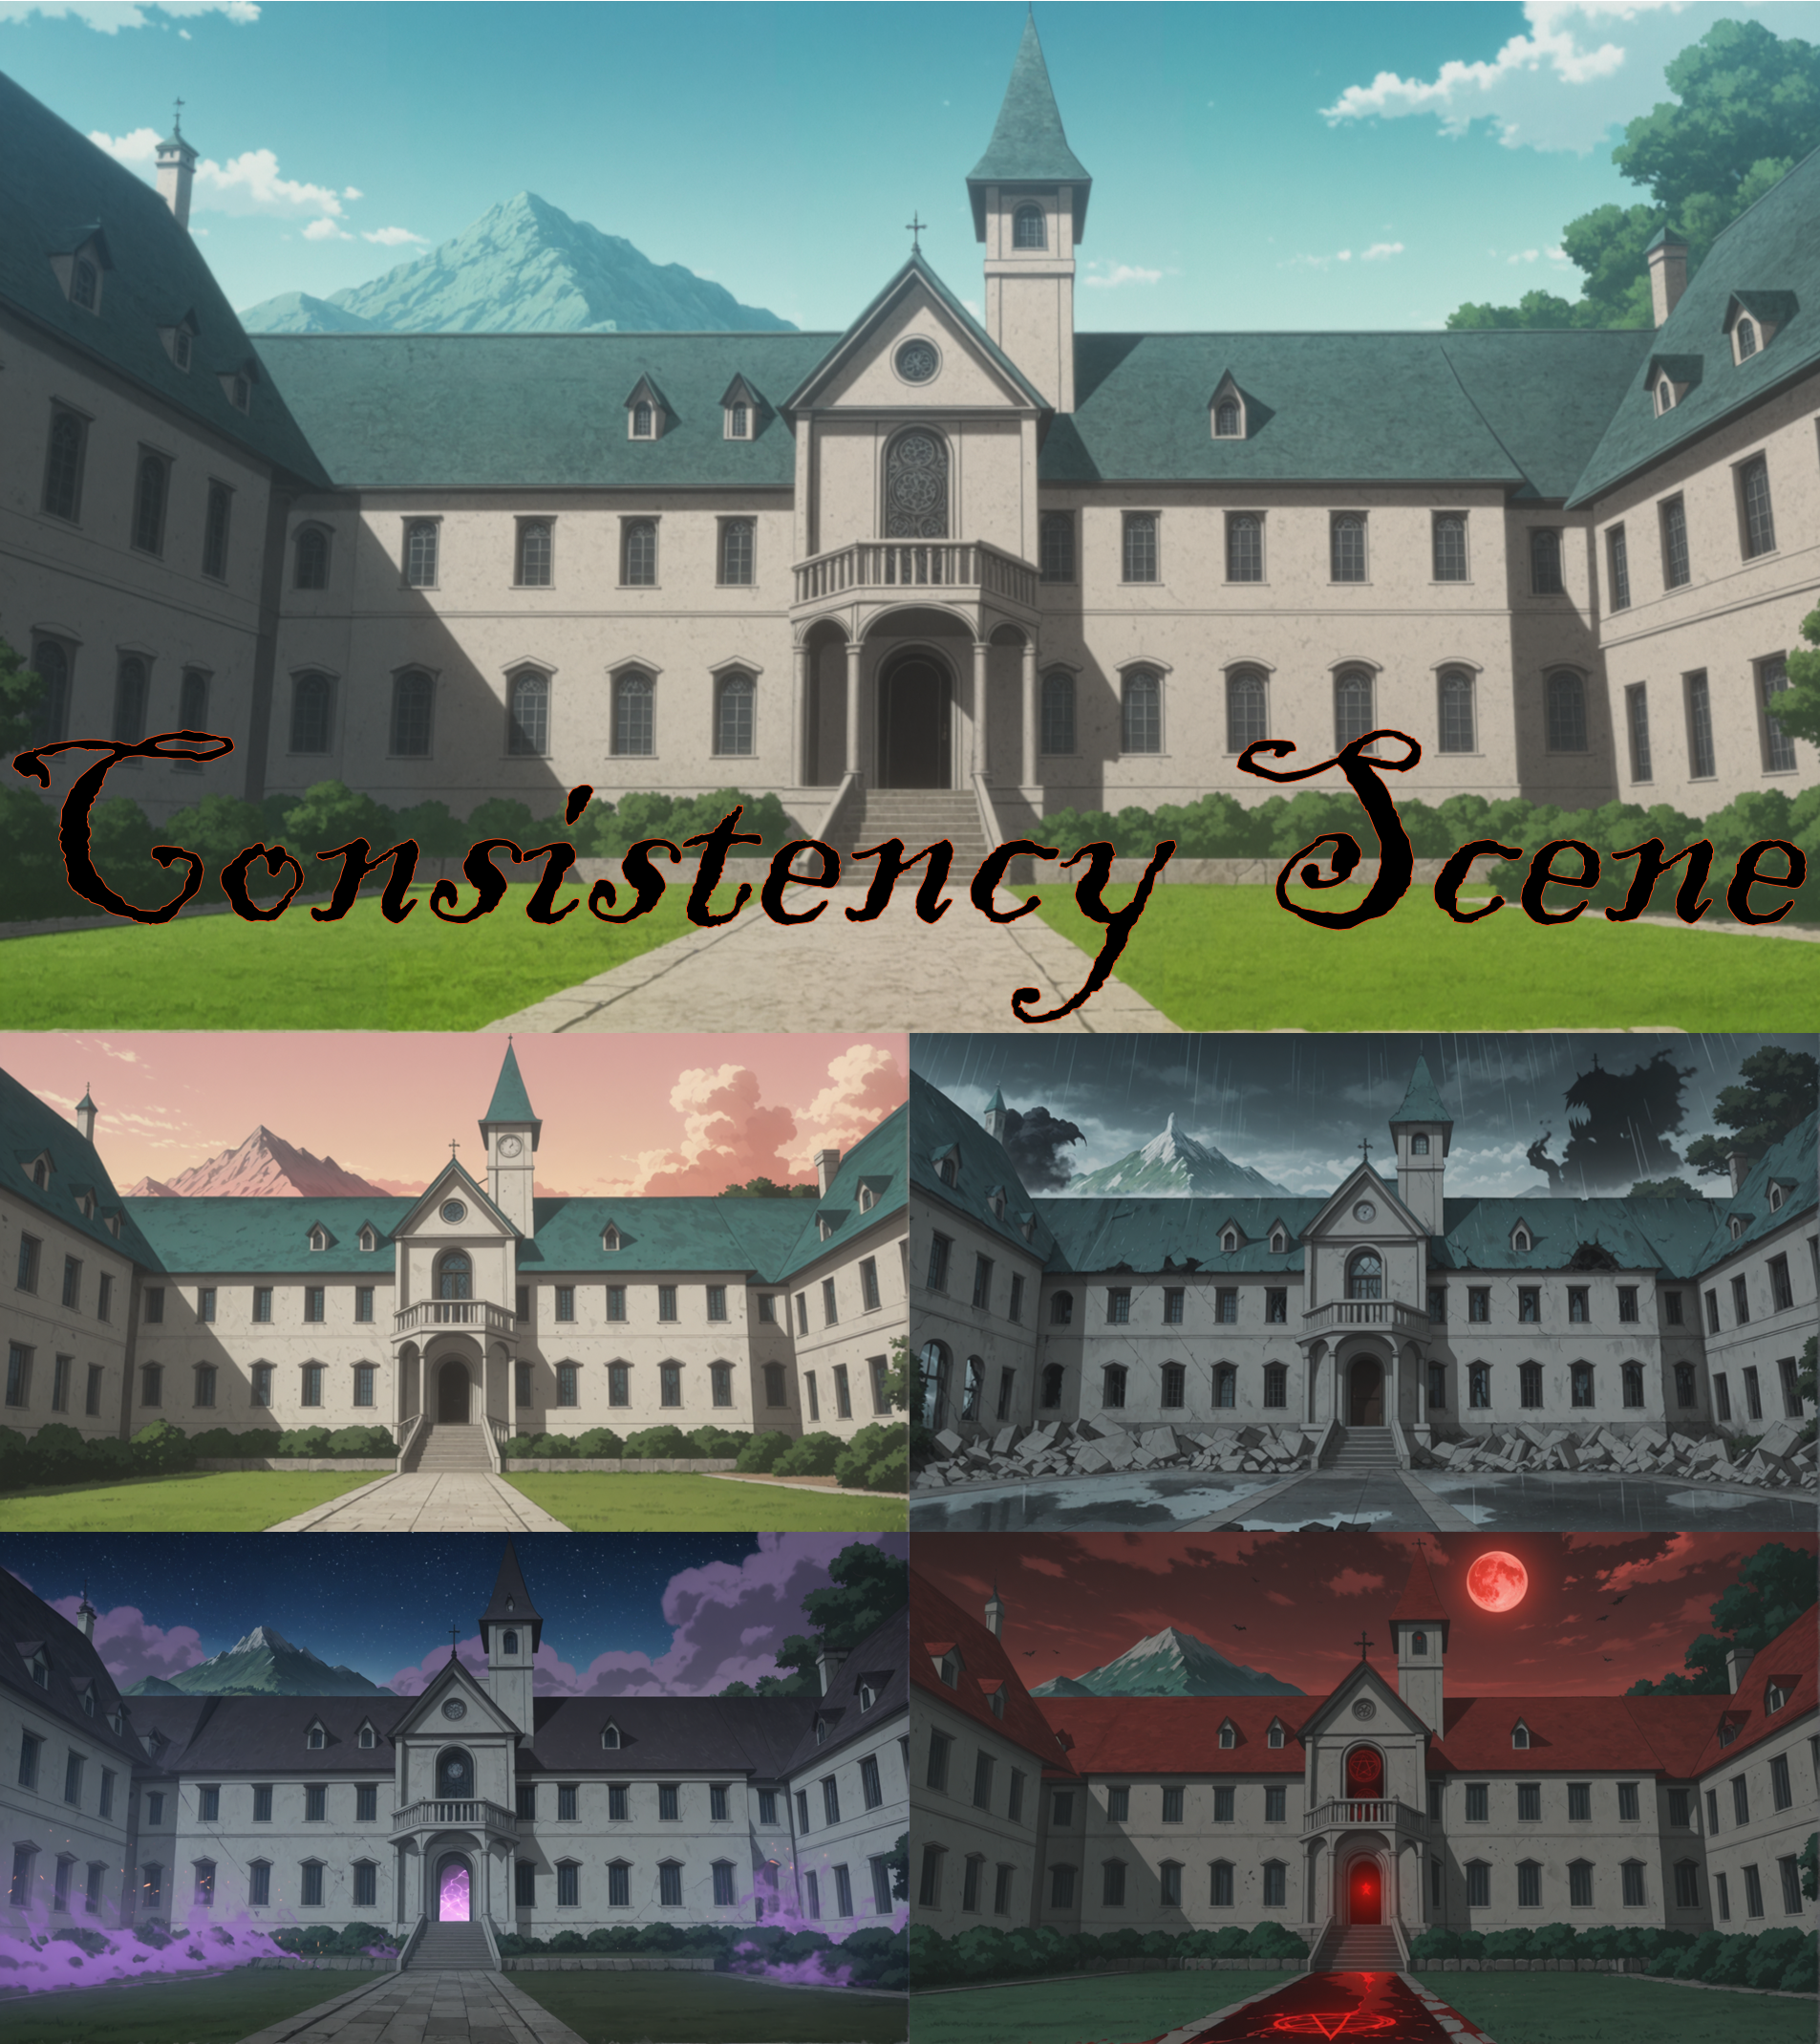
Consistency Scene | Generating a scene from a reference.
Some people have modified and used my "Consistency characters" workflow to generate scenes instead of characters. Since "Consistency characters" is getting more and more complicated with updates, I decided to make a separate workflow for scenes to make it easier for people to adapt it for themselves.It's very simplistic and doesn't have many features. I haven't experimented much with scenes myself, but it works more or less.
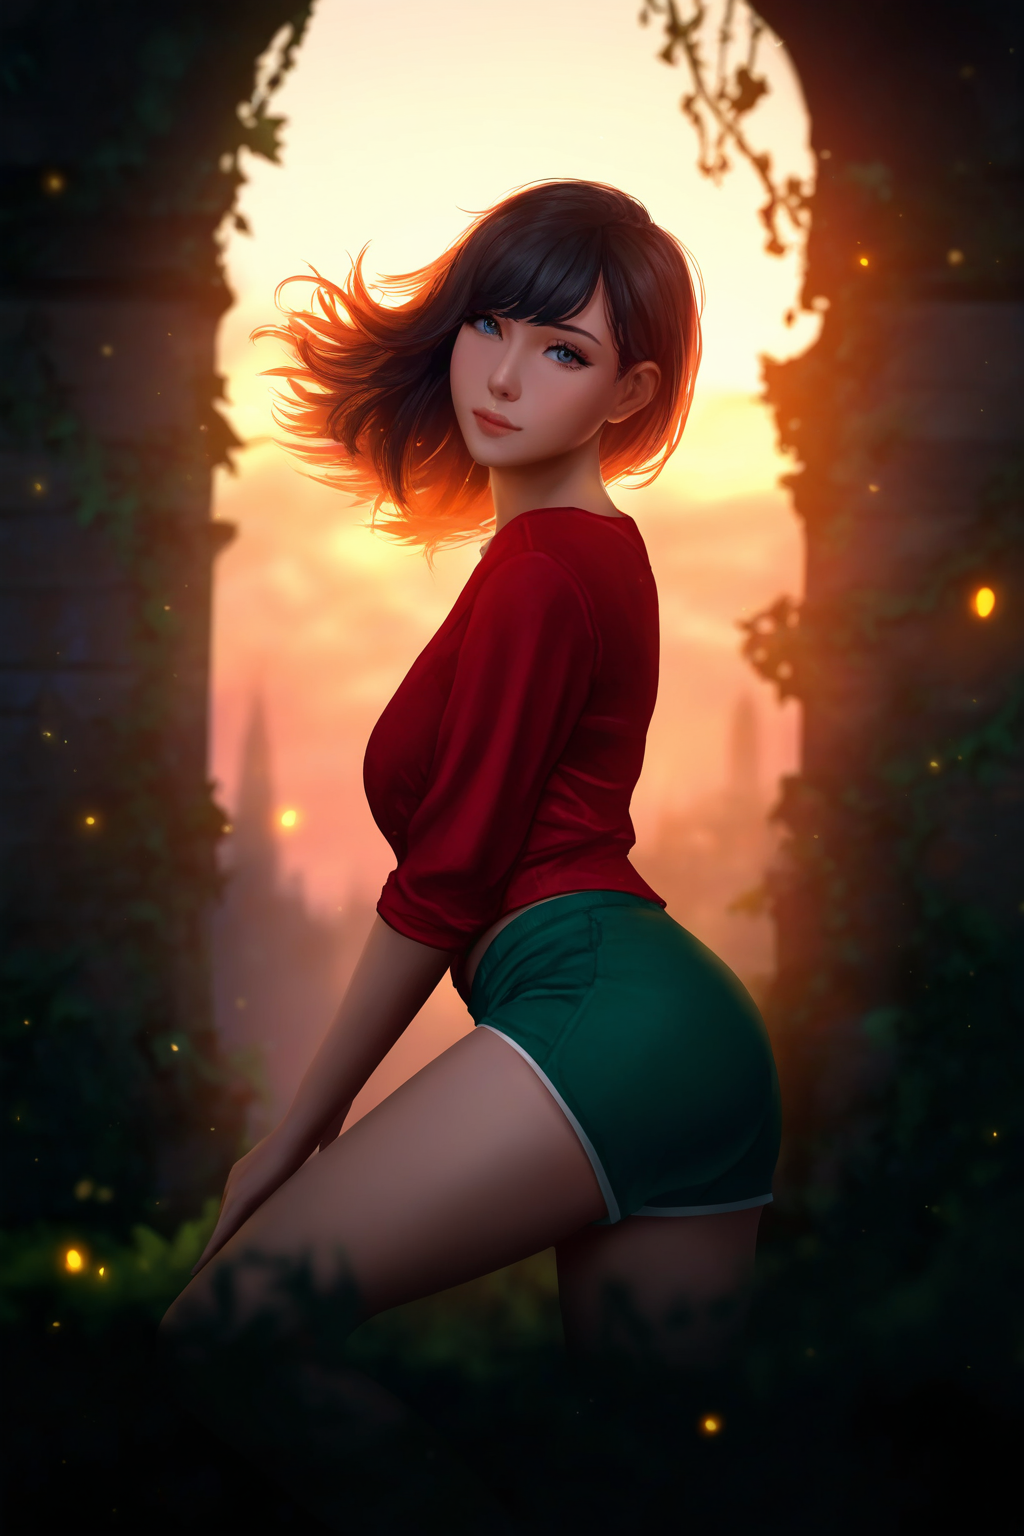
Multi_NoobAI-XL_Advanced_Comfort_Workflow
Rebuilt for Noob. I haven't really spent much time on it, but one of my followers on YouTube asked.https://www.youtube.com/@murphylanga/videos

Final illustrious (txt2img)
A complete workflow that includes Adetailer, ControlNet and Upscaler. This was made with more casual users in mind. Workflow should be simple to use for new users as well. So I decided to make a easy one that can still give great results.V2.0HiresFix included for better control over details.Multi-ControlNet removed for less GPU load.Face + Hand detailer still available.Upscaler is enabled in HiresFixV1.0Multi-ControlNet included (use only, if you have high-end GPU)Face detailerHand detailerUpscalerAny missing nodes can be easily downloaded by ComfyUI manager.In case of any issue please write a comment.

Сonsistency characters | Generate characters only by image and prompt, without character's Lora! | IL\NoobAI Edit
This is a test workflow that allows you to use the IL\Noob model as Flux.Kontext\Qwen_Edit to generate a character image from a Reference. It works best with the same model as Reference. You also need to add a character prompt.Attention! The result depends greatly on the seed, so experiment.I really need feedback and advice on how to improve this! So if anyone is interested, please share your thoughts on this.
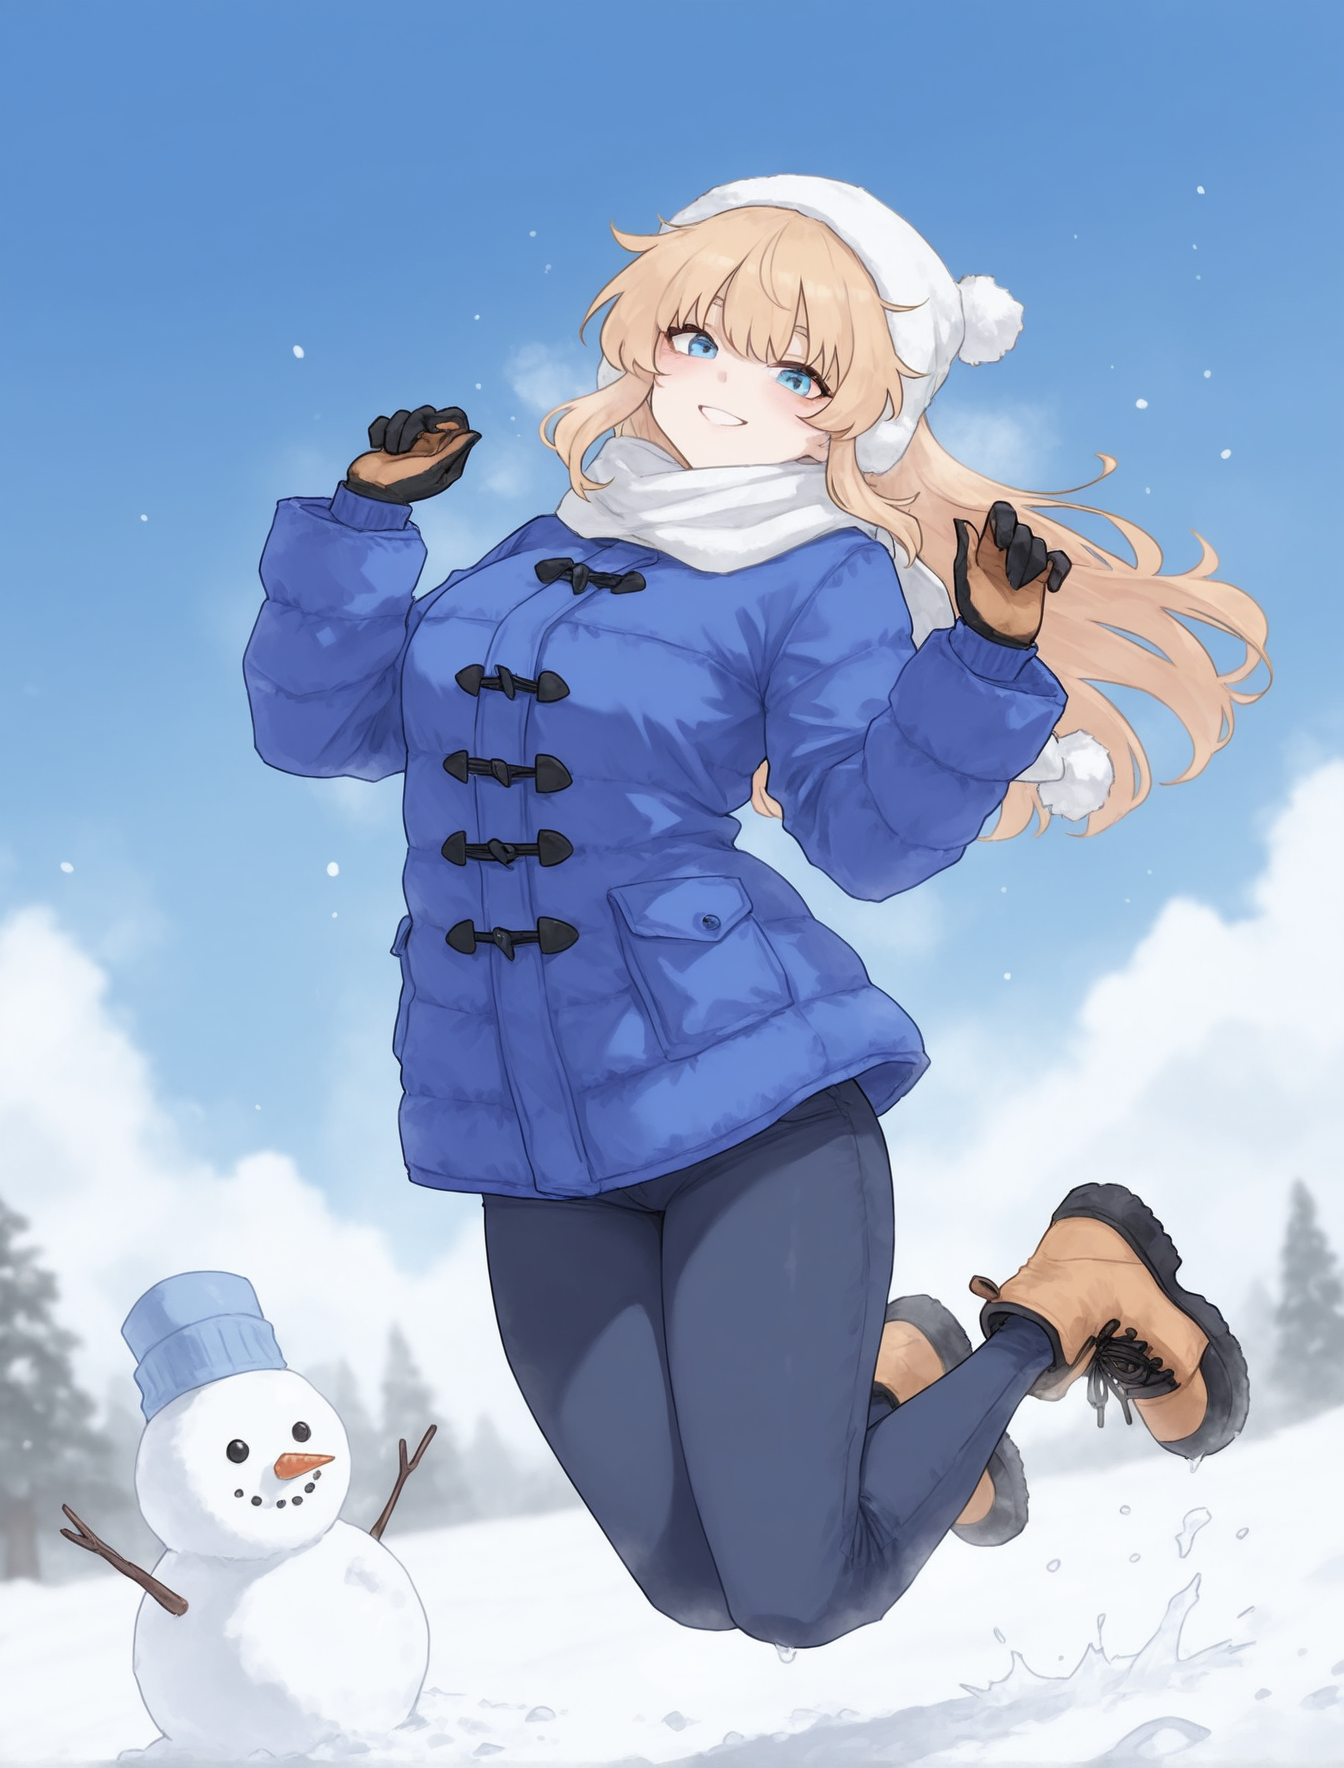
Easy (Mostly) NoobAI / Illustrious VPred ComfyUI Workflow For Dummies
NOTE: CHECK V1.0 FOR SHOWCASEI was looking for a VPred workflow when I wasn't satisfied with my gens and couldn't find one that didn't have 5000 nodes with 50 groups and just not easy on the eyes. So after finding a good spot for my gens after trial and error, I decided to annotate it and upload it here.Checkout my showcase, I use different LORAs (hopefully I set them up right, its annoying AF when you grab a workflow from here via image and it doesn't work).I am a lazy person that has only attempted inpainting once in my genning time and realised I ain't got the time or patience for that, so I usually aim for a first gen that is decent. If you inpaint, should be pretty easy for you to touch up.There are a couple custom node packs to install, but let the ComfyUI Manager handle that for you.Also I avoid adetailer and similar because I am impatient, so I try for gens that get the face or whatever right as close as possible in 1 shot.NOTE: I'm not exactly sure why, but the rgthree lora stacker acts differently to just chaining the core lora loader??? I was testing gens and decided to go back to my dumb lora chaining and got a different results with the exact same lora load orders & strength. Just an FYI

LSNet - Anime Artist Classification Workflow
AboutThis workflow uses LSNet to perform artist classification on an input image. This workflow is not really for generating images per se, as it will simply output artist tags that are the most well-associated with a given input image. It is also not intended for 3D styles and realistic images, nor is it really intended for "traditional" art, it is purely for anime-style images.It can be useful for finding the most likely artist tag(s) used in a prompt for an image that lacks metadata, or even if the image has a prompt, it can still be useful for seeing which artist tag(s) could yield similar results if the metadata lacks them.Input image used: https://aibooru.online/posts/111018(quick note for people who downloaded this prior to 11:45PM EST on 10/19/2025: made a mistake with the artist tags subgraph that made it operate in the wrong order, should be fine now.)
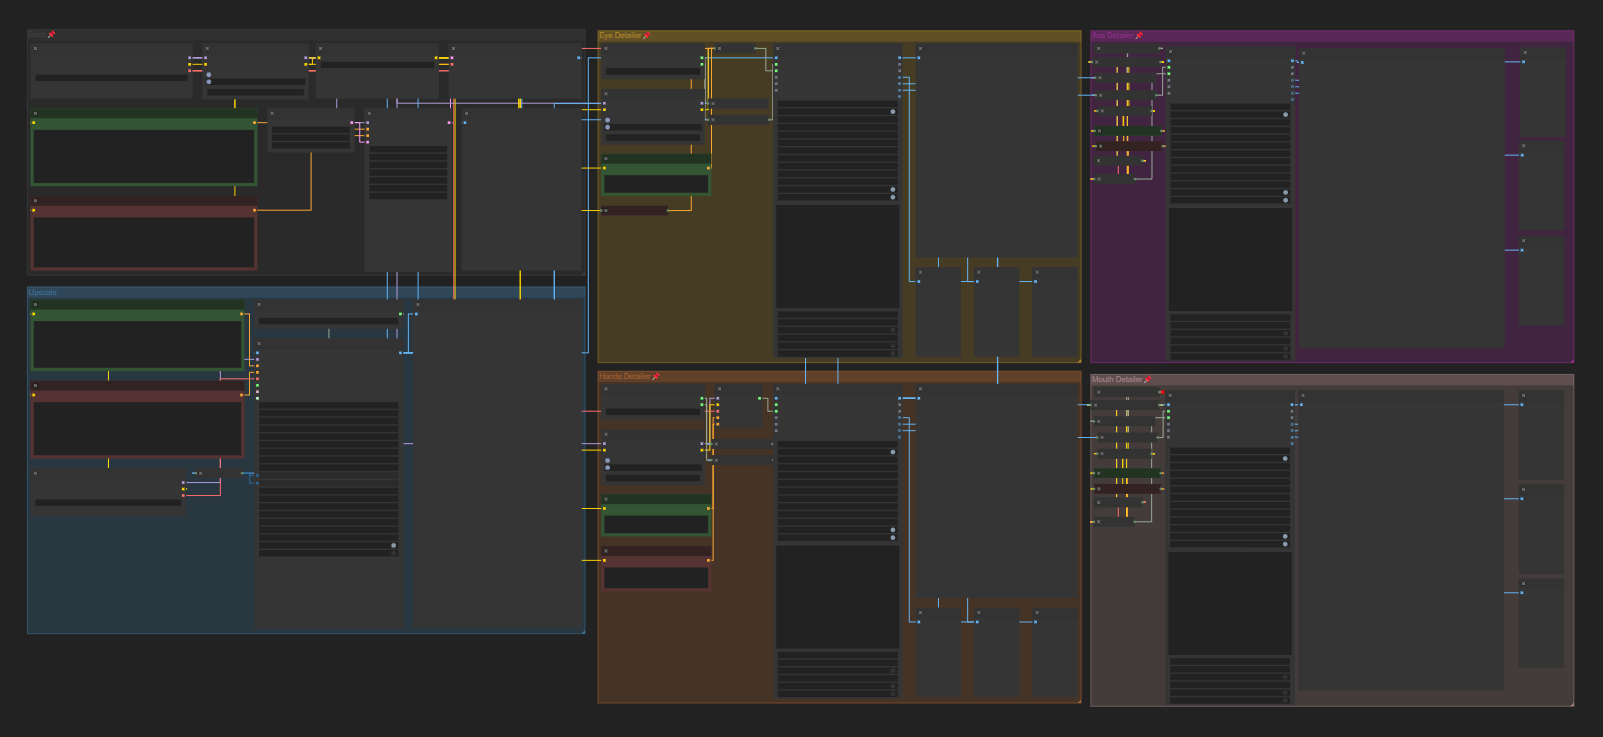
Simple & Effective (For Illustious/NoobAI Models)
After using ComfyUI for a few months, I've finally made a workflow that works for me. It works for Illustrious & NoobAI models. It may look complex at first, but all you need to do is set up the models and add your prompts and let the workflow do the rest. You'll be making detailed images with no issues.V1: Workflow is simplified a little more.NSFW: For the more "intimate" images.NSFW V2: Reduced the workflow so that more loras can be added into the images.

SD 1.5 | SDXL | Illustrious | Pony - 2 step detailer + upscaler
A clean workflow ideally suited for SD models . It includes:a. Detailer pipe (to fix faces)b. Second Passc. UpscalerThe workflow uses:1. Wildcard node (because I just love wildcards)2. Anything Everywhere (make things neat and tidy)3. Fast Groups Muter (in case you want to skip the upscaler)Newer checkpoints are great but I still think you need detailers to fix the faces.

A real-Noob + Rouwei-Gemma Workflows
Replace the original clip.Thanks to "Minthybasis" for the work.Adding "by photorealistic, by realistic," the effect is even better.替换原本的clip。感谢"Minthybasis"的工作。加入”by photorealistic,by realistic,“效果更好。

Sota Class Anime Modeling NoobAI-V1-Pred Vincennes Workflow
B-site video: https://www.bilibili.com/video/BV1v5b1zrEcW/Knowledge Planet: https://t.zsxq.com/7F90AGraphic tutorial: https://t.zsxq.com/lNK8vThe workflow is very simple to use, and I have uploaded a tutorial on how to use it on YouTube. You can try it out and follow the tutorial and Civitai's workflow to easily reproduce the results. Thank you. If you have any other questions, please leave a comment in the comment sectionThis tutorial is very important, not watching it will surely lead to a lot of problems! Watch the video tutorial before trying !!!! Very important! Especially a key point at the end!
NoobAI / Illustrious - Regional Prompt Workflow
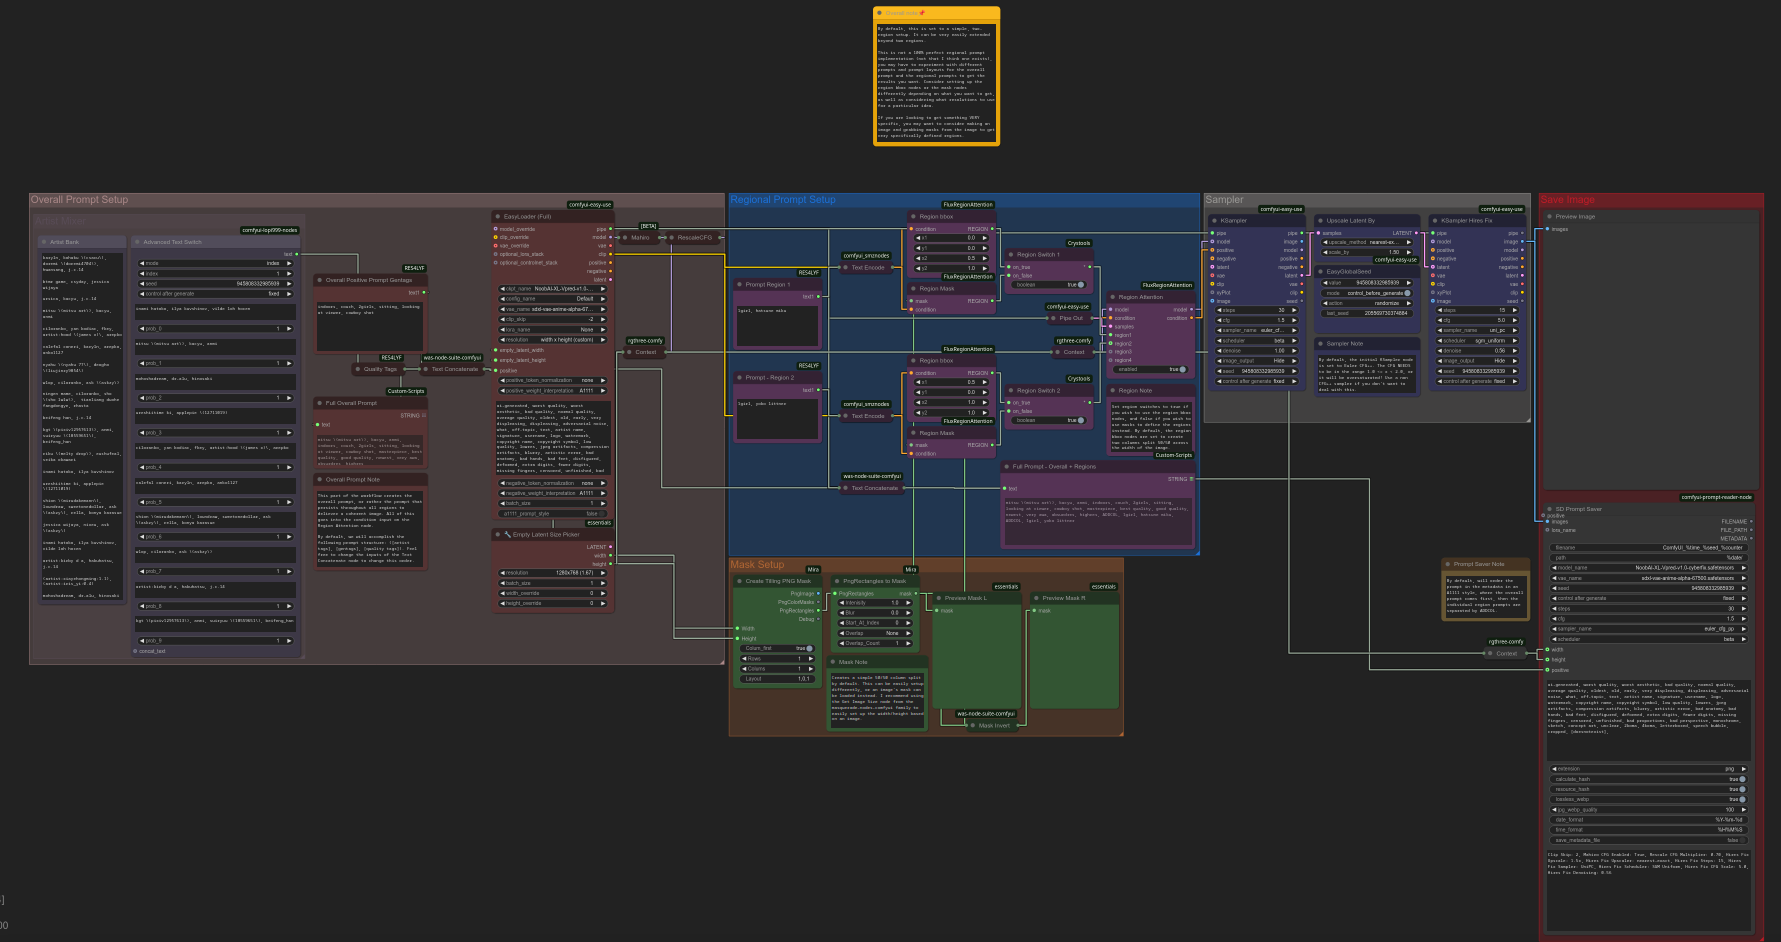
Donate here if you want: https://ko-fi.com/lopi999AboutEVERYTHING HERE IS IRRELEVANT AS OF V2 > This node was something I had in idea for a long while, but I wasn't too sure how to actually implement a proper regional prompter. The most popular method from a workflow that's pretty popular on here is to use the cgem156 Attention node, unfortunately this node has quite a lot of issues. For one, it would throw out an error for no particular reason when doing hires fix. This was then "replaced" by the A8R8 Attention nodes in a recent version of that workflow... which also just didn't work for my purposes. The Impact node family has regional prompting nodes, but they all require being thrown into a specific sampler that also just didn't work half the time. Finally, there was the MultiAreaConditioning node a part of the Dave_CustomNode family, but this node is now broken with newer ComfyUI versions.Finally, I found the FluxRegionAttention node family, and it actually seemingly just works. As thus, I decided to move forward with making a regional prompt workflow based around it. I will state this: it is not perfect. It still has some issues sometimes (eg. sometimes regions can get "swapped"), but I've also had issues with the regional prompt extensions with A1111 as well, so I don't think any regional prompting setup is 100% perfect. However, compared to other regional prompt workflows I've tried before, this is much more consistent (at least for me) than all of them. < EVERYTHING HERE IS IRRELEVANT AS OF V2This workflow is designed by default to create a simple two region setup, with two columns. It is very easily extensible, and you can use the mask output of a load image node to create fully custom masks without needing to use the region bbox or nodes in the mask setup group.ChangelogV2:A8R8 either got an update or I got over my skill issues using it. Overall I was planning to revolve a regional prompt setup around it, and namely, also having an easier mask setup section as well. The workflow has been completely and utterly redesigned from the ground up, and with more options to get metadata and such.A noteThis workflow contains a lot of custom nodes. Before commenting that you have an issue with a node installing...Did you read the list of all custom node family/families that failed to import when you restarted or installed a node family, and did you read the console log to see why?Did you update ComfyUI and/or did "update all" in Comfy Manager?Did you update Python to the latest version?If all else fails, try to do a clean install of ComfyUI and try again. If it still doesn't work, then it is an issue on your end entirely and you need to diagnose yourself as to what the issue could be. Go to GitHub and open an issue for instance.
HiFi Render and Mixed Caption Workflow
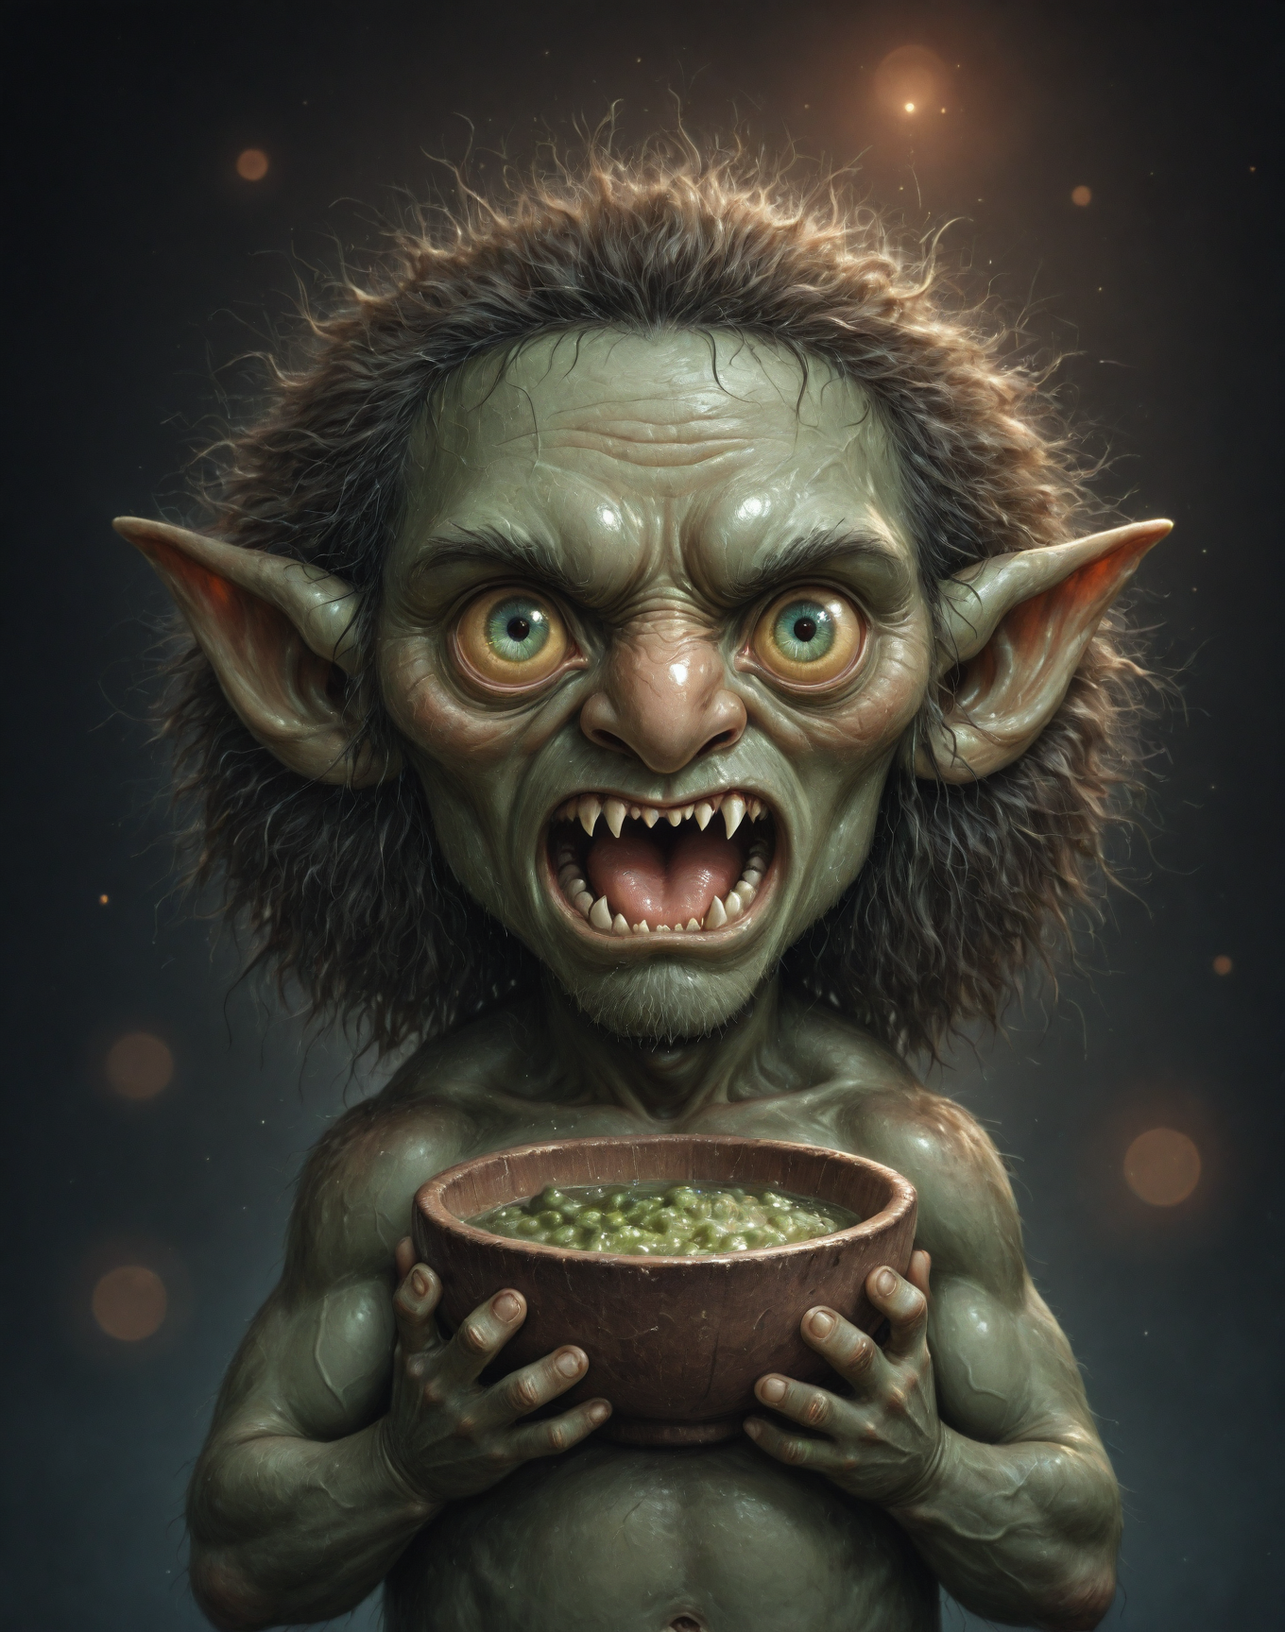
EA just for lols.. you can grab the same workflow from image posts. But I will be very glad if you pay m3n3mooom EA fee 🙏Read this guide for more details.The HiFi-Render workflow is a sophisticated two-stage image enhancement system built in ComfyUI that transforms low-quality input images into high-fidelity realistic renders. This workflow leverages the complementary strengths of different AI models to achieve superior results:1. Draft Stage: Uses NoobAI anime-style model for initial composition and structure2. Finalization Stage: Employs realistic Illustrious/Pony hybrid models with ControlNet guidance for photorealistic outputThe workflow is particularly valuable for dataset creation, as it generates both high-quality images and comprehensive hybrid captions combining Booru tags with natural language descriptions and style modifiers.Read this guide for more details.
NoobXL_AnimeWorkFlow
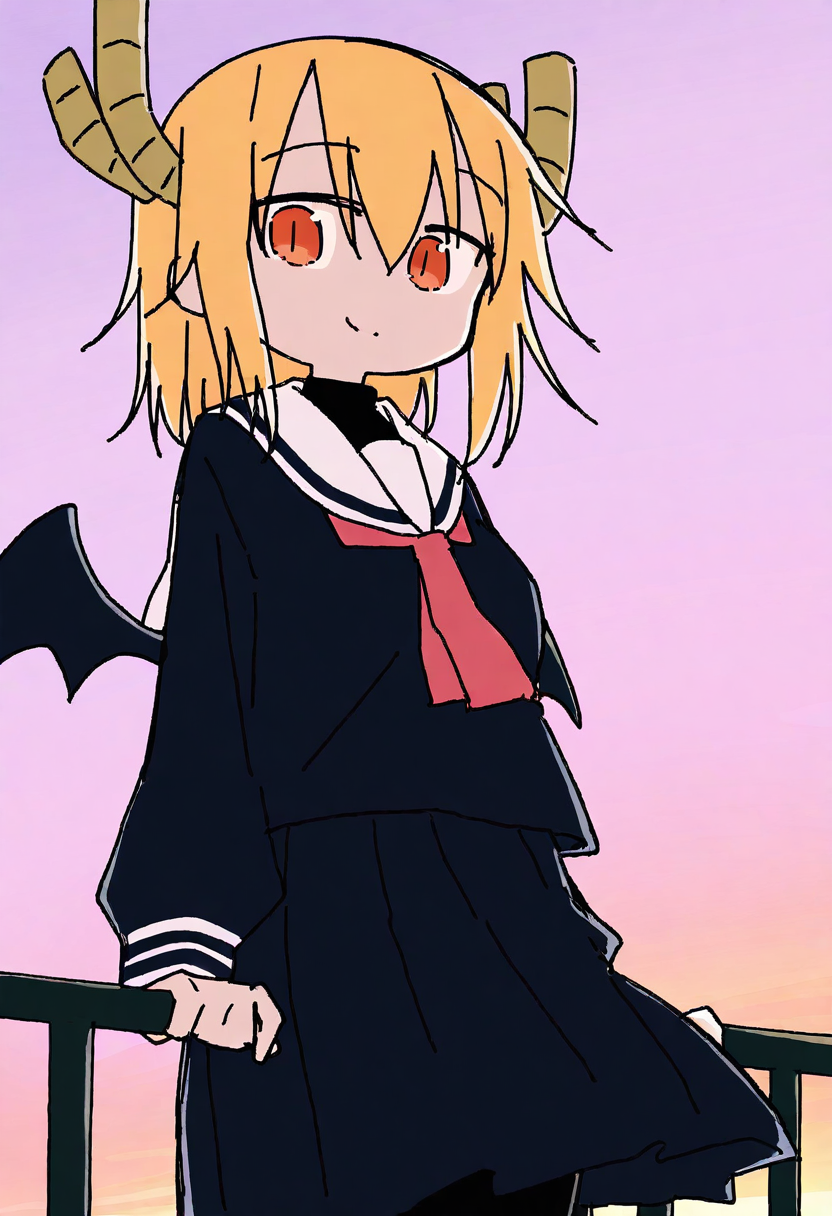
方便快速的动漫工作流,详细的工作流讲解请移步我的博客:ComfyUI_AnimeWorlkflow | DisplaceStation

NoobAI / Illustrious - IPAdapter Workflow
NOTE 1: REQUIRES THE LATEST VERSION OF COMFYUI AND COMFY FRONTEND AS OF THE TIME OF POSTING THIS WORKFLOW. IT USES THE NEW GROUP NODE FEATURE.NOTE 2: COMFY-MANAGER CURRENTLY CANNOT DETECT CUSTOM NODES IN A GROUP NODE. YOU WILL HAVE TO GO THROUGH THIS LIST AND MANUALLY INSTALL EACH OF THESE CUSTOM NODE FAMILIES.comfyui_ipadapter-plusRES4LYFwas-node-suite-comfyuicomfyui_essentialsEasy-UseCustom-Scriptscomfyui-ppmrgthree-comfycomfyui-prompt-reader-nodeA straightforward implementation for IPAdapter for usage with NoobAI/Illustrious. Intended to mimic the overall style of any image given to it, and can create some unique styles when combining two images together, like one as the image input and one as the negative image input. Download links for all models required included in the workflow as a note.
MIDNIGHT1111_Chasm
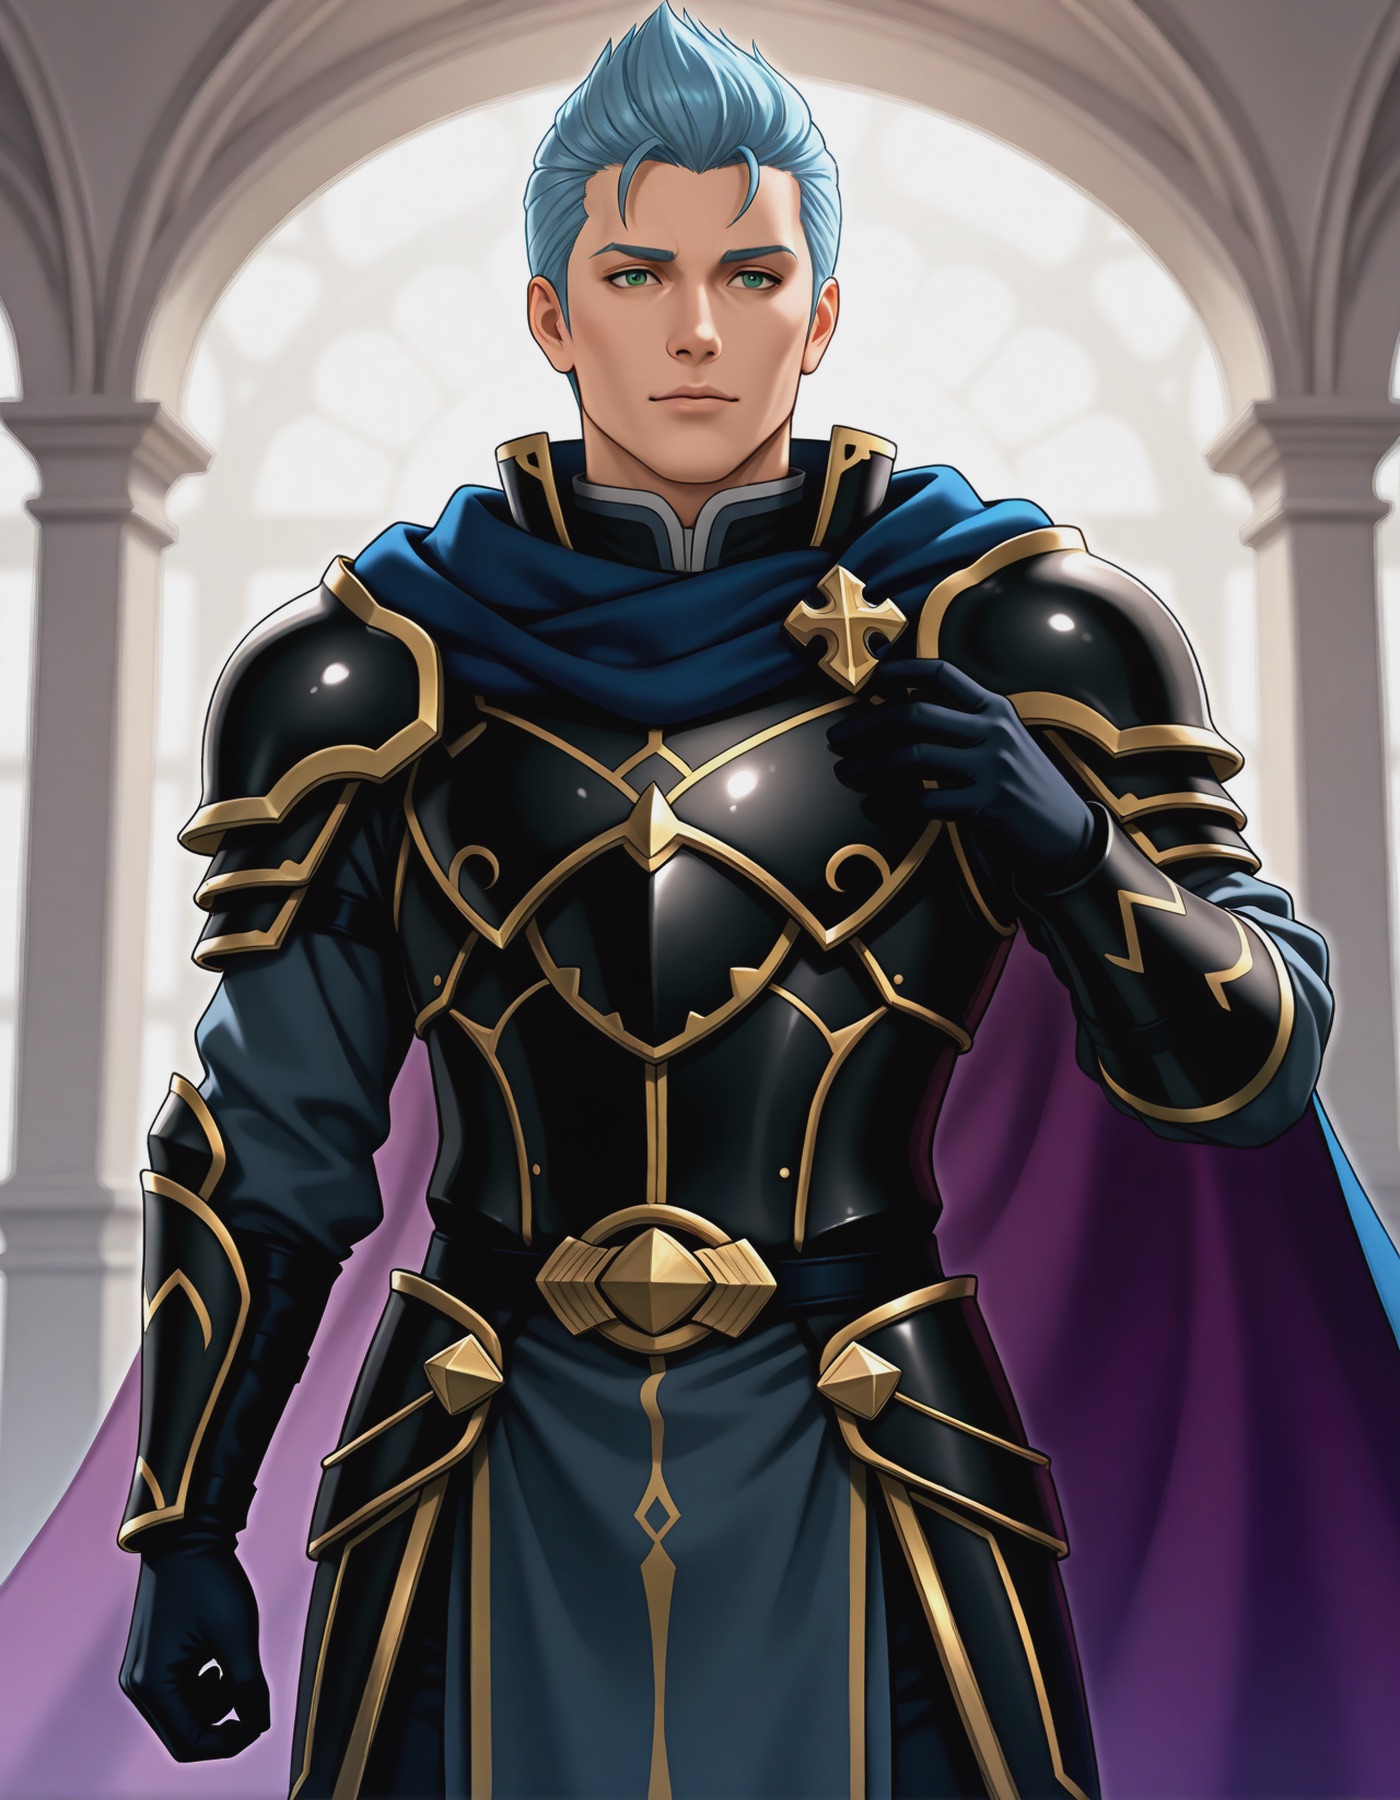
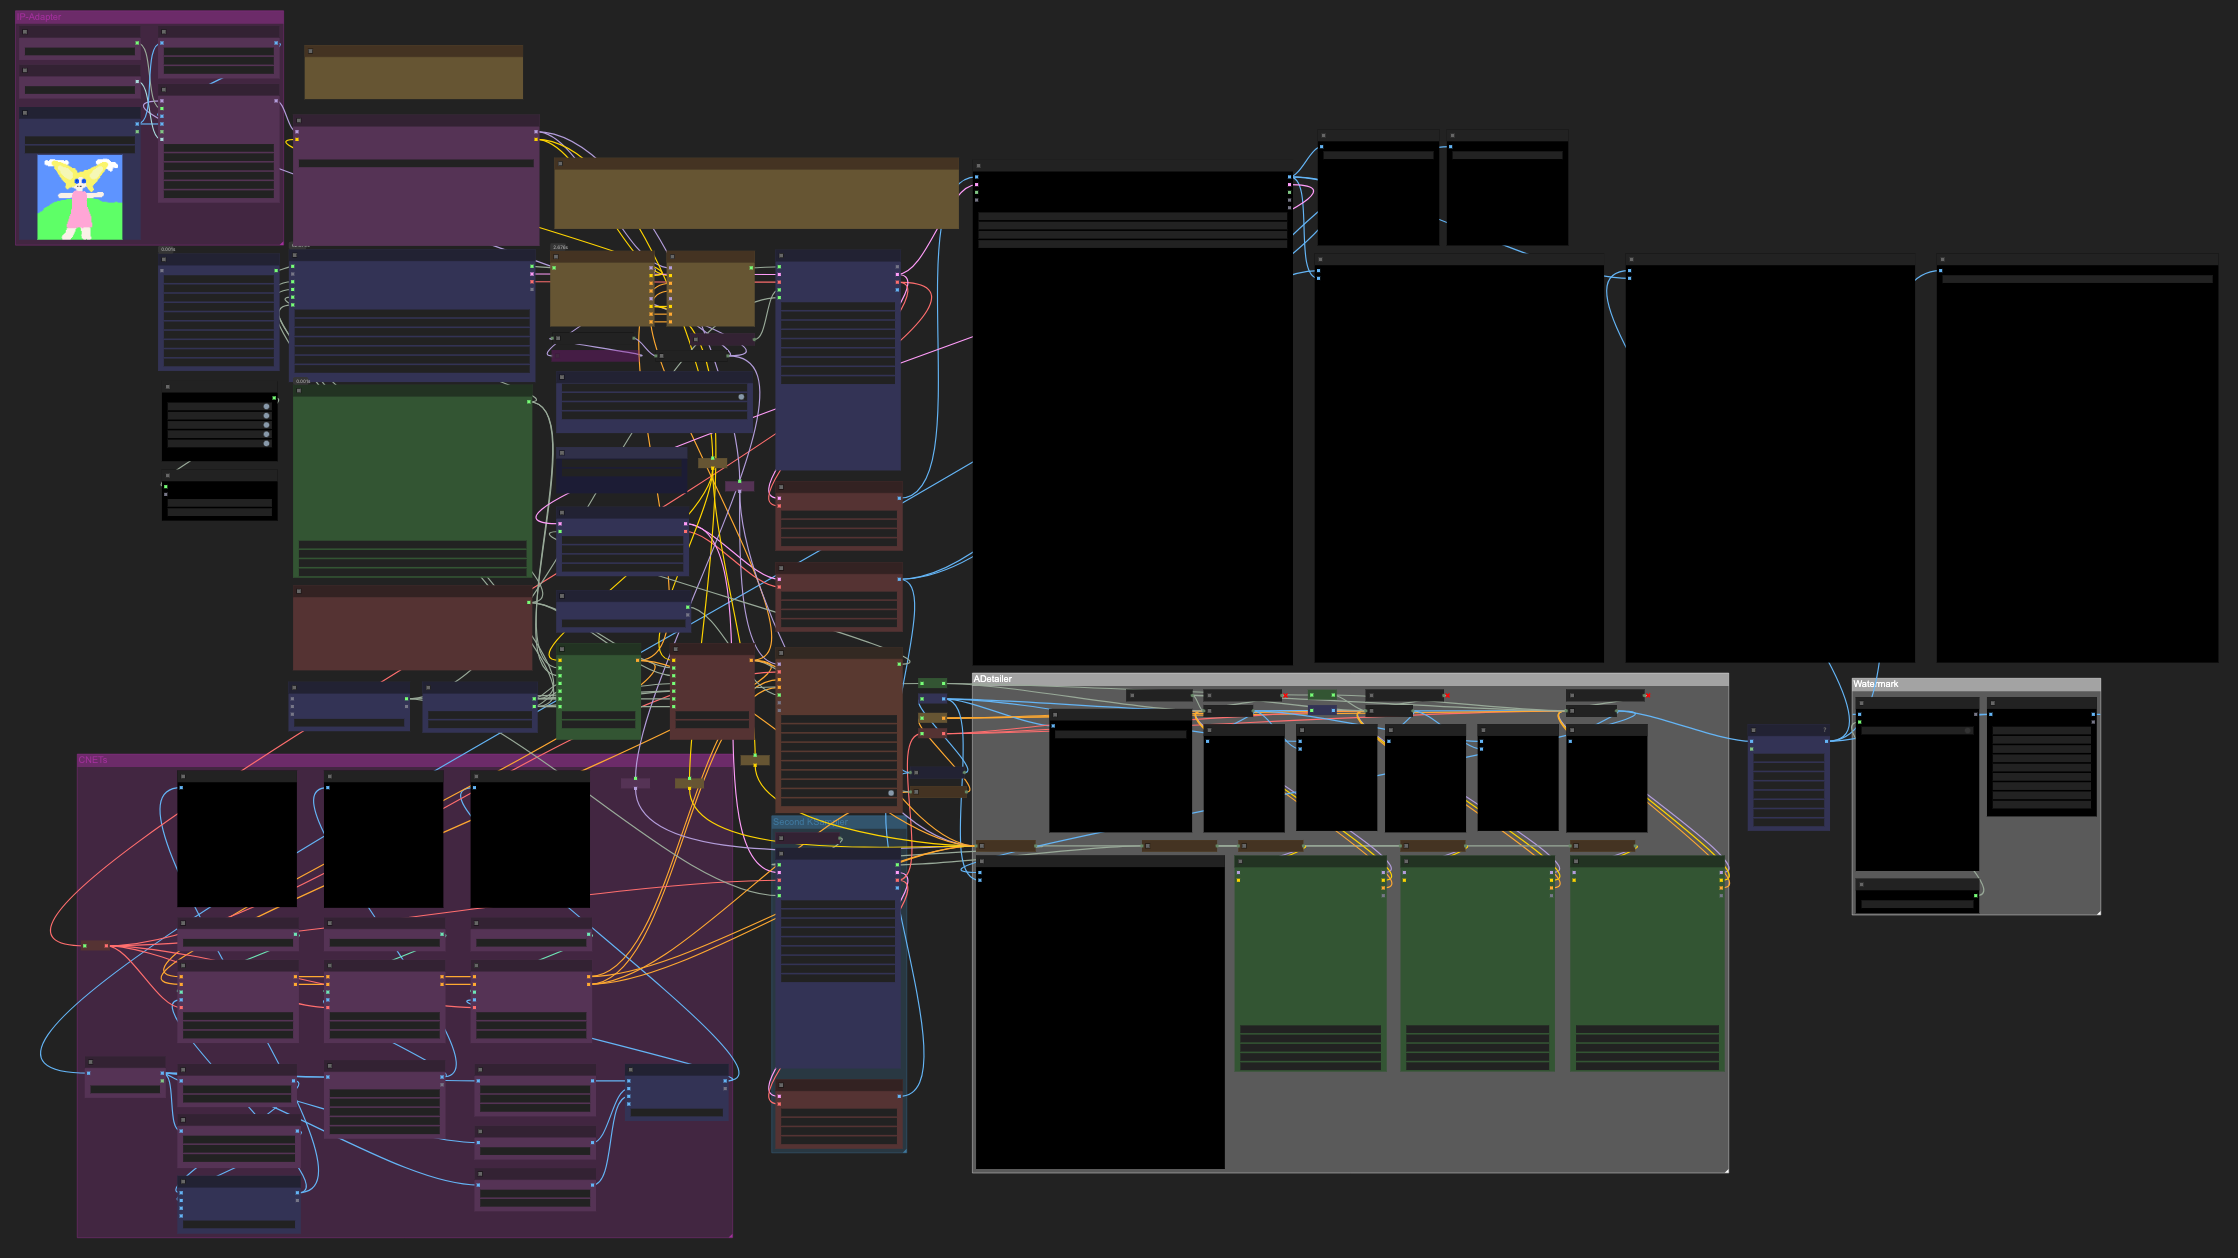
MIDNIGHT1111_Chasm ComfyUI WorkflowComfyUI Workflow // v03/14/25 - ModelSamplingDiscrete is currently disabled. Please enable it so that vPred mode can be activated, as it is now pre-built for general-purpose use.OverviewThe MIDNIGHT1111_Chasm Workflow is a custom-designed AI image generation pipeline optimized for use with MIDNIGHT_NAI-XL_vPredV1 (MDNT_NAI-XL_vPredV1). This workflow is structured to maximize the model’s anatomical precision, lighting effects, and artistic flexibility, ensuring high-quality outputs with minimal manual adjustments. By using NoobAI-XL’s own ControlNets. Nodes such as the IP Adapter refine background selection by default it is bypassed, though you can opt for a prompt + KSampler approach if that better suits your workflow.Designed for ComfyUI – Seamless node-based execution.// Why Use MIDNIGHT1111_Chasm?Note: The above image is a preview of the MIDNIGHT1111_Chasm workflow sorted by versioning.Optimized for MIDNIGHT_NAI-XL_vPredV1 (MDNT_NAI-XL_vPredV1)Enjoy high-level customization with minimal manual effort.Fully compatible with both standard SDXL setups and modular extensions.Delivers exceptional lighting depth, contrast, and anatomical accuracy.Enhanced with advanced Inpainting Node and Masking tools.Midnight Fitlers' masking feature is carefully engineered to give you precise control over your image editing, allowing for detailed adjustments to both colors and filters.Comes with a dedicated Watermarks Maker.This workflow is perfect for artists, designers, and AI enthusiasts aiming to achieve outstanding results with the PONYXL, Illustrious-XL, and NAI-XL_vPredV1 models.📌 Download Reminder: Manual installation is required for NoobAI-XL’s ControlNet if it isn’t already included in your ComfyUI preset.Trigger Word ListsTo enhance the model's performance and specificity, the following trigger word lists are included:danbooru_artist_webui.csvdanbooru_character_webui.csve621_artist_webui.csve621_character_webui.csvThese lists provide recognized tags for various artists and characters, facilitating more accurate and tailored image generation. Those can be also found noobai-xl-nai-xl-artist-wildcards-e621danbooruHow to Use// Method I: reForgeInstallation: If not already installed, follow the instructions in the reForge repository to set up.Usage: Launch WebUI and use the model as usual.// Method II: ComfyUIInstallation: Follow the setup instructions in the ComfyUI repository.Workflow Sample: Utilize the provided ComfyUI workflow sample for guidance.// Method III: WebUIInstallation: Follow the instructions in the WebUI repository to set up.Navigate to the WebUI Directory: Before updating or switching branches, ensure you're inside the stable-diffusion-webui foldercommand:cd stable-diffusion-webuiSwitch to the Development Branch (Optional, for testing new features): If you want to use the latest features from the development branch, run:command:git switch devgit pull⚠️ Note: The dev branch may contain bugs. If stability is your priority, it's best to stay on the main branch.Update WebUI (Main or Dev Branch): To pull the latest updates while on either branch, run:command:git pull🔄 Restart WebUI after updating to apply changes.Configuration: Ensure you're using a stable branch, as the dev branch may contain bugs.// AcknowledgmentsSpecial thanks to:Development Team: Laxhar LabCoding Contributions: EugeCommunity Support: Various contributors// Additional ResourcesGuidebook for NoobAI XL: English VersionRecommended LoRa List for NoobAI XL: Resource LinkFixing Black Images in ComfyUI on macOS (M1/M2): Read the ArticleCreative Solutions and Services: Magnabos.co// LicenseThis model is licensed under the CreativeML Open RAIL++-M License. By using this model, you agree to the terms and conditions outlined in the license.Availability on Hugging FaceThis model is also available on Hugging Face for ease of access, packaged files, and verification of its original source:🔗 Hugging Face - MidnightRunner/MIDNIGHT_NAI-XL_vPredV1🔗 Hugging Face - MidnightRunner/MIDNIGHT_NAI-XL_vPredV22025 © Midnight1111
MIDNIGHT1111_Chasm - v02.05.25
MIDNIGHT1111_Chasm ComfyUI WorkflowComfyUI Workflow // v02/12/25 - ModelSamplingDiscrete is currently disabled at lastest workflow. Please enable it to use vPred mode.OverviewThe MIDNIGHT1111_Chasm Workflow is a custom-designed AI image generation pipeline optimized for use with MIDNIGHT_NAI-XL_vPredV1 (MDNT_NAI-XL_vPredV1). This workflow is structured to maximize the model’s anatomical precision, lighting effects, and artistic flexibility, ensuring high-quality outputs with minimal manual adjustments. By using NoobAI-XL’s own ControlNets. Nodes such as the IP Adapter refine background selection by default it is bypassed, though you can opt for a prompt + KSampler approach if that better suits your workflow.Designed for ComfyUI – Seamless node-based execution.// Why Use MIDNIGHT1111_Chasm?Note: The above image is a preview of the MIDNIGHT1111_Chasm workflow sorted by versioning.Pre-optimized for MIDNIGHT_NAI-XL_vPredV1 (MDNT_NAI-XL_vPredV1).High customization with minimal manual effort.Works with both standard SDXL setups & modular extensions.Maintains lighting depth, contrast, and anatomical accuracy.This workflow is ideal for artists, designers, and AI enthusiasts looking to get the best possible results from the MIDNIGHT_NAI-XL_vPredV1 model.📌 Download Reminder: NoobAI-XL’s own ControlNet require manual installation if not included in your ComfyUI preset.Trigger Word ListsTo enhance the model's performance and specificity, the following trigger word lists are included:danbooru_artist_webui.csvdanbooru_character_webui.csve621_artist_webui.csve621_character_webui.csvThese lists provide recognized tags for various artists and characters, facilitating more accurate and tailored image generation. Those can be also found noobai-xl-nai-xl-artist-wildcards-e621danbooruHow to Use// Method I: reForgeInstallation: If not already installed, follow the instructions in the reForge repository to set up.Usage: Launch WebUI and use the model as usual.// Method II: ComfyUIInstallation: Follow the setup instructions in the ComfyUI repository.Workflow Sample: Utilize the provided ComfyUI workflow sample for guidance.// Method III: WebUIInstallation: Follow the instructions in the WebUI repository to set up.Navigate to the WebUI Directory: Before updating or switching branches, ensure you're inside the stable-diffusion-webui foldercommand:cd stable-diffusion-webuiSwitch to the Development Branch (Optional, for testing new features): If you want to use the latest features from the development branch, run:command:git switch devgit pull⚠️ Note: The dev branch may contain bugs. If stability is your priority, it's best to stay on the main branch.Update WebUI (Main or Dev Branch): To pull the latest updates while on either branch, run:command:git pull🔄 Restart WebUI after updating to apply changes.Configuration: Ensure you're using a stable branch, as the dev branch may contain bugs.// AcknowledgmentsSpecial thanks to:Development Team: Laxhar LabCoding Contributions: EugeCommunity Support: Various contributors// Additional ResourcesGuidebook for NoobAI XL: English VersionRecommended LoRa List for NoobAI XL: Resource LinkFixing Black Images in ComfyUI on macOS (M1/M2): Read the ArticleCreative Solutions and Services: Magnabos.co// LicenseThis model is licensed under the CreativeML Open RAIL++-M License. By using this model, you agree to the terms and conditions outlined in the license.Availability on Hugging FaceThis model is also available on Hugging Face for ease of access, packaged files, and verification of its original source:🔗 Hugging Face - MidnightRunner/MIDNIGHT_NAI-XL_vPredV1🔗 Hugging Face - MidnightRunner/MIDNIGHT_NAI-XL_vPredV22025 © Midnight1111