ComfyUI Workflows
Browse real AI workflows from Flux, SDXL, Pony, ControlNet, video generation and commercial AI creators.
Ultra Lip Sync Pro 2.6
The workflow at https://www.seaart.ai/workFlowDetail/d00s625e878c73f67510 (Lip_Sync_Pro 2.6) is a great tool for creating realistic lip-synced videos from a face image + audio input. To get the most out of it and support the community/creator:Try it out directly:Go to the link (log in or sign up for free if needed).Click the Create button (or any prominent "Run/Use/Fork" equivalent) to load and run the workflow.Upload a clear, front-facing face image.Add your audio file (ideally 5–10 seconds of clear speech/TTS for best sync).Hit generate to produce the talking video.Tweak nodes if you're comfortable with ComfyUI (it has 23 nodes for fine control).Share your results for rewards:Once you generate a cool lip-synced video (or image if applicable), post it to your SeaArt profile or works gallery.If possible, post it specifically to the model page associated with this workflow (or the creator's profile/model if linked).Sea_Art has community incentive features where creators earn Buzz (their on-site points/currency) when users engage with or post to their models/workflows. From similar platforms and Sea_Art patterns, posting results to a model's page can reward the creator with around 50 Buzz per post (this seems to match common reward mechanics like one-time or per-user bonuses for contributions to a model's gallery).This helps the creator (Ai-GMQ) earn rewards, encourages more workflows, and builds the community.

ComfyUI beginner friendly HunyuanImage-2.1 GGUF Text-to-Image Workflow by Sarcastic TOFU
This is a very simple ComfyUI beginner friendly Text-to-Image workflow that will work with a single HunyuanImage-2.1 GGUF model.HunyuanImage-2.1 was officially released by Tencent's Hunyuan team in early September 2025, specifically launching its open-source weights and inference code around September 8 and 9. This version is widely recognized for being a "native 2K" model, meaning it was specifically trained to handle high-resolution generation without the common blurring or quality loss seen in smaller models. While a square size of 2048 x 2048 is indeed the ideal standard for a 1:1 aspect ratio, the model is highly flexible and optimized for several 2K-equivalent dimensions. For example, the recommended 2:3 resolution for classic portrait is 1536 x 2304, 3:4 resolution for standard portrait is 1792 x 2304, 16:9 resolution widescreen cinematic shot is 2560 x 1536, while a 4:3 ratio standard landscape shot is best at 2304 x 1792. The original developers of HunyuanImage-2.1 from Tencent mentioned that using resolutions lower than these (such as 1024x1024) may result in visual artifacts or lower quality outputs but in my generations I have found the results to be very acceptable and fine as I shared them with you with this workflow.You need a Hugging Face account to download your necessary files (Details are mentioned below). Make sure you install GGUF addon for ComfyUI using ComfyUI manager or any other missing nodes you may have and place the correct files in correct places. Also check out my other workflows for SD 1.5 + SDXL 1.0, WAN 2.1, WAN 2.2, MagicWAN Image v2, QWEN, HiDream, KREA, Chroma, AuraFlow, Z-Image Turbo and Flux.How to use this -#1. Just select your desired HunyuanImage-2.1 GGUF models first and now#2. set your desired image dimensions to start#3. then input your positive and negative prompts.#4. select how many images you want (Change the number besides the "Run" button)#5. select image sampling methods, CFG, steps etc. settings#6. finally press the run button to generate. That's it..*** This workflow will also function on 1024 Low res equivalents (SDXL resolutions) on low spec systemsRequired Files==================### Download Link for HunyuanImage-2.1 GGUF model ----------------------------------------------------https://huggingface.co/calcuis/hunyuanimage-gguf/resolve/main/hunyuanimage2.1-q2_k.gguf### Download Links for HunyuanImage-2.1 GGUF Text Encoders -------------------------------------------------------------https://huggingface.co/mradermacher/Dumpling-Qwen2.5-VL-7B-GGUF/resolve/main/Dumpling-Qwen2.5-VL-7B.Q2_K.ggufhttps://huggingface.co/calcuis/pig-encoder/blob/main/byt5_small_glyphxl_fp32-iq4_nl.gguf### Download Link for HunyuanImage-2.1 GGUF VAE --------------------------------------------------https://huggingface.co/calcuis/pig-vae/blob/main/pig_hunyuan_image_vae_fp32-f16.gguf
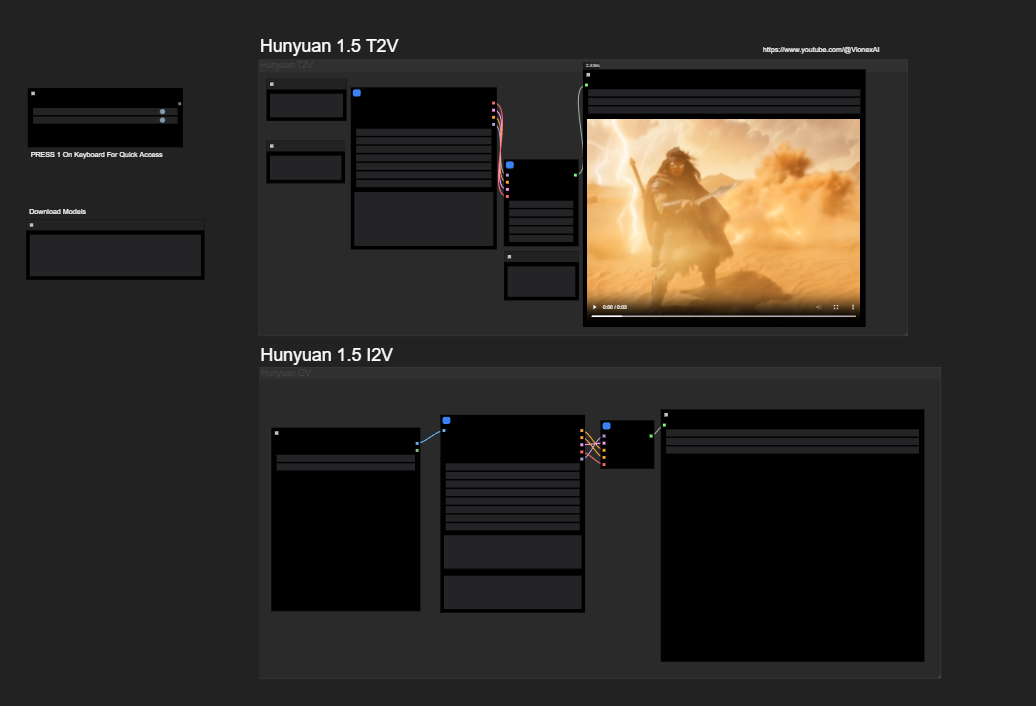
HunyuanVideo 1.5 Ultimate T2V & I2V Packaged
This is combination of Hunyuan 1.5 T2V & I2V Workflow.📥 Download Workflow:https://civitai.com/models/2147481?modelVersionId=2428912📦 Download Hunyuan 1.5 Models:https://huggingface.co/Comfy-Org/HunyuanVideo_1.5_repackaged/tree/main/split_files☕ Support (optional):https://buymeacoffee.com/xshreyashIf you want a Wan version or an upscale edition, tell me!

3D_hunyuan3d_image_to_model-workflow
You can click on the link below to try it out directly. If the effect is good, you can deploy it locallyhttps://www.runninghub.ai/post/1966417591575228417/?inviteCode=sdhs0trbFan benefits,register to get 1000 points,daily login 100 points,play 4090!Experience the super power of 48G.https://buymeacoffee.com/a592991299oThis is the image to model workflow of hunyuan3d, which can generate 3D models in GLB format from images. Before use, the hunyuan_3d_v2.1 model needs to be installed.Hunyuan_3d_v2.1 download link:https://huggingface.co/Comfy-Org/hunyuan3D_2.1_repackaged/tree/mainPlace folder: models/checkpointsNotes:1. Loading images requires a 1:1 size and a white background. The workflow has built-in adjustment plugins. If you are not satisfied with the cutout effect, you can adjust it yourself.The quality of the generated model can be improved by adjusting the VAEDecodeHunyuan 3D parameters.3. The output path of the generated 3D model is in output \ mesh
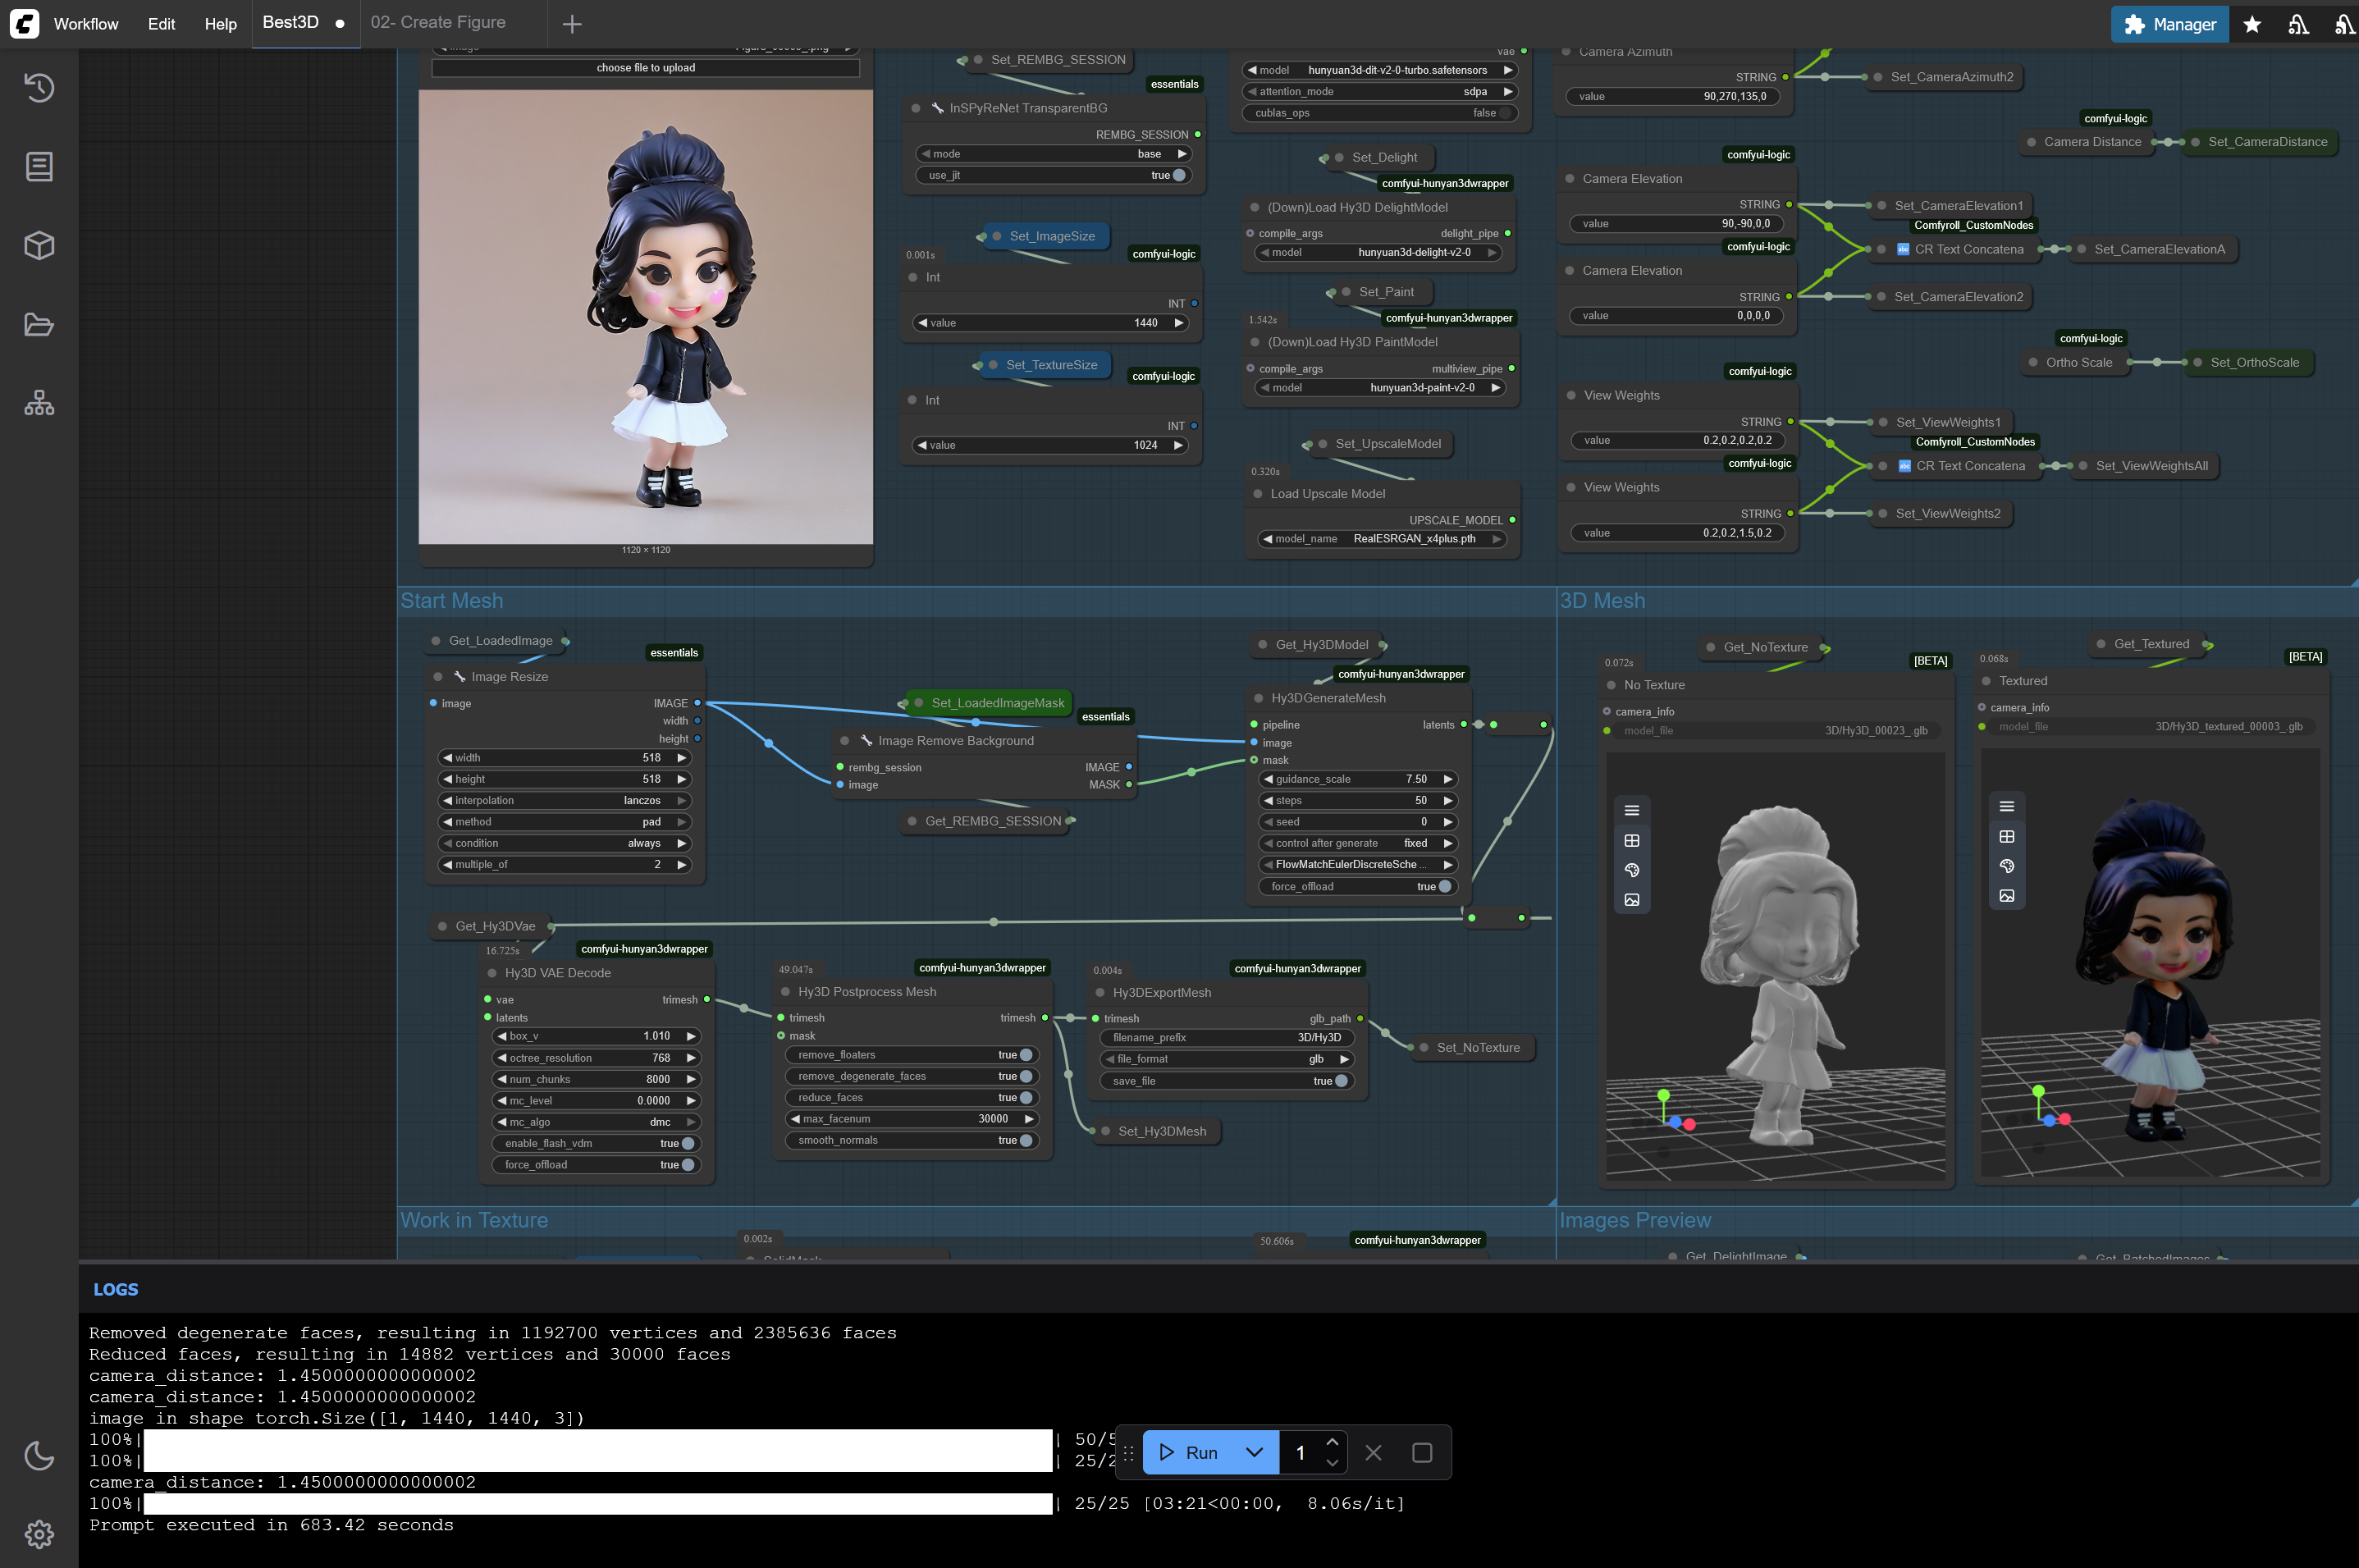
Best Quality Workflow of Hunyuan3D 2.0
The best workflow I've been able to create so far with Hunyuan3D 2.0It's all set up for quality, but if you want to change any information, the constants are set at the top of the workflow.Based on Hunyuan3D-2 + High res optimizations
HunYuan 3D New MV Model Multi-View Generation Model Workflow
B-site video: https://www.bilibili.com/video/BV1dWcpeUE4v/Knowledge Planet: https://t.zsxq.com/7F90AGraphic tutorial: https://t.zsxq.com/lNK8vThe workflow is very simple to use, and I have uploaded a tutorial on how to use it on YouTube. You can try it out and follow the tutorial and Civitai's workflow to easily reproduce the results. Thank you. If you have any other questions, please leave a comment in the comment sectionThis tutorial is very important, not watching it will surely lead to a lot of problems! Watch the video tutorial before trying !!!! Very important! Especially a key point at the end!
HunYuan 3D Workflow V2
B-site video: https://www.bilibili.com/video/BV1dWcpeUE4v/Knowledge Planet: https://t.zsxq.com/7F90AGraphic tutorial: https://t.zsxq.com/lNK8vThe workflow is very simple to use, and I have uploaded a tutorial on how to use it on YouTube. You can try it out and follow the tutorial and Civitai's workflow to easily reproduce the results. Thank you. If you have any other questions, please leave a comment in the comment sectionThis tutorial is very important, not watching it will surely lead to a lot of problems! Watch the video tutorial before trying !!!! Very important! Especially a key point at the end!
HunYuan 3D V2 Workflow
B-site video: https://www.bilibili.com/video/BV1dWcpeUE4v/Knowledge Planet: https://t.zsxq.com/7F90AGraphic tutorial: https://t.zsxq.com/lNK8vThe workflow is very simple to use, and I have uploaded a tutorial on how to use it on YouTube. You can try it out and follow the tutorial and Civitai's workflow to easily reproduce the results. Thank you. If you have any other questions, please leave a comment in the comment sectionThis tutorial is very important, not watching it will surely lead to a lot of problems! Watch the video tutorial before trying !!!! Very important! Especially a key point at the end!
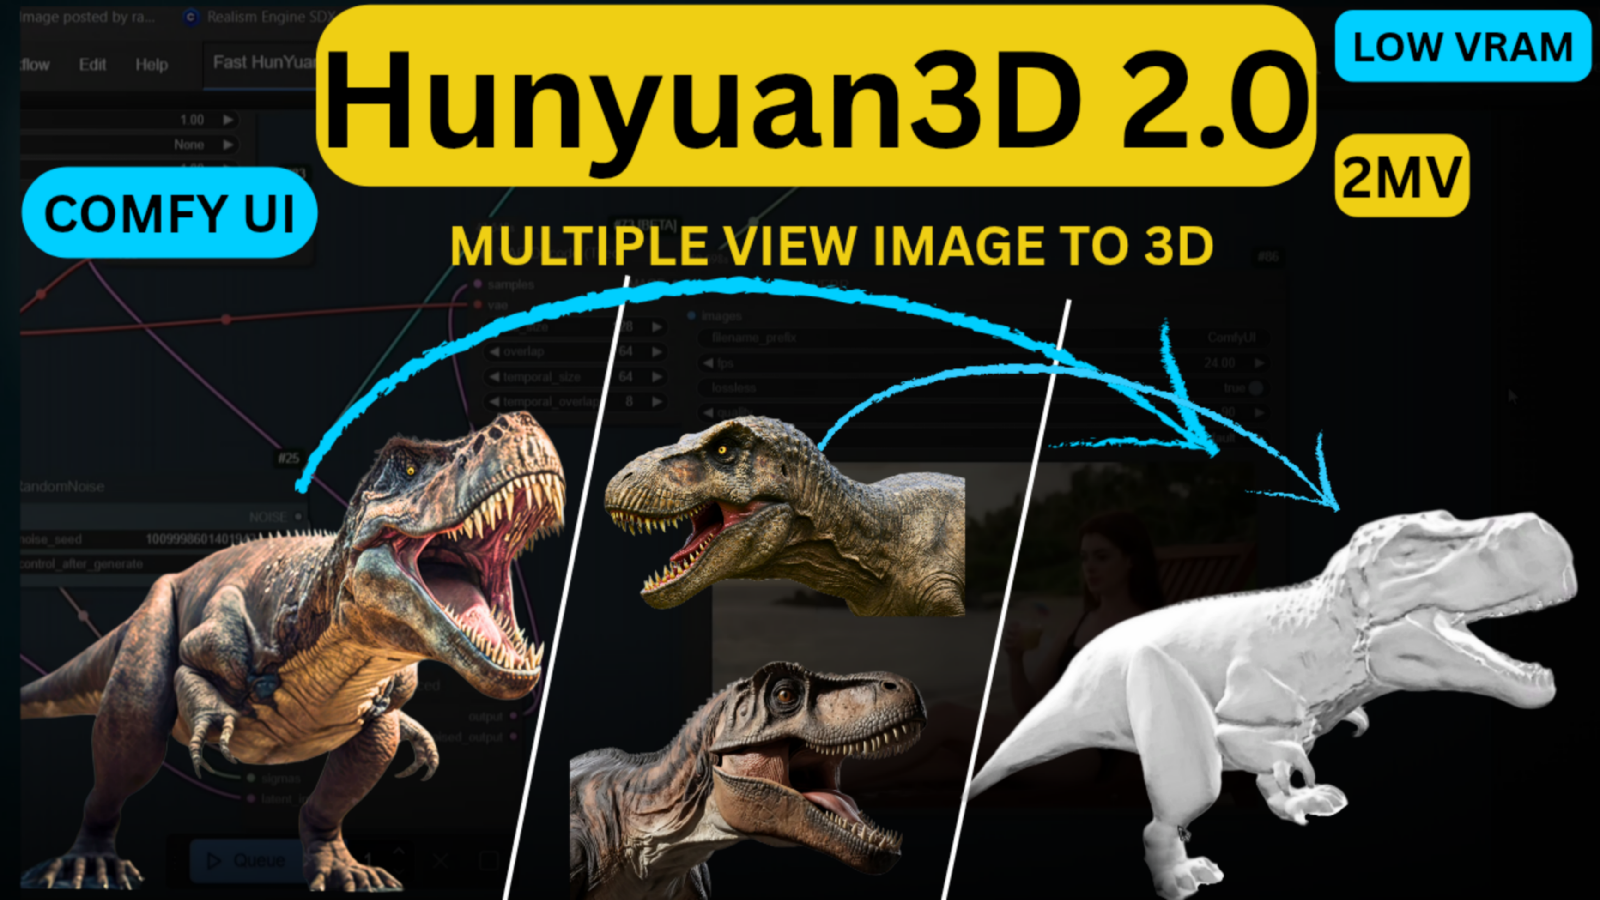
Hunyuan 3D 2.0 Workflow
This is the Hunyuan 3D 2.0 .This Model Creates 3D Model form any image or In this model multiple images for better 3d model
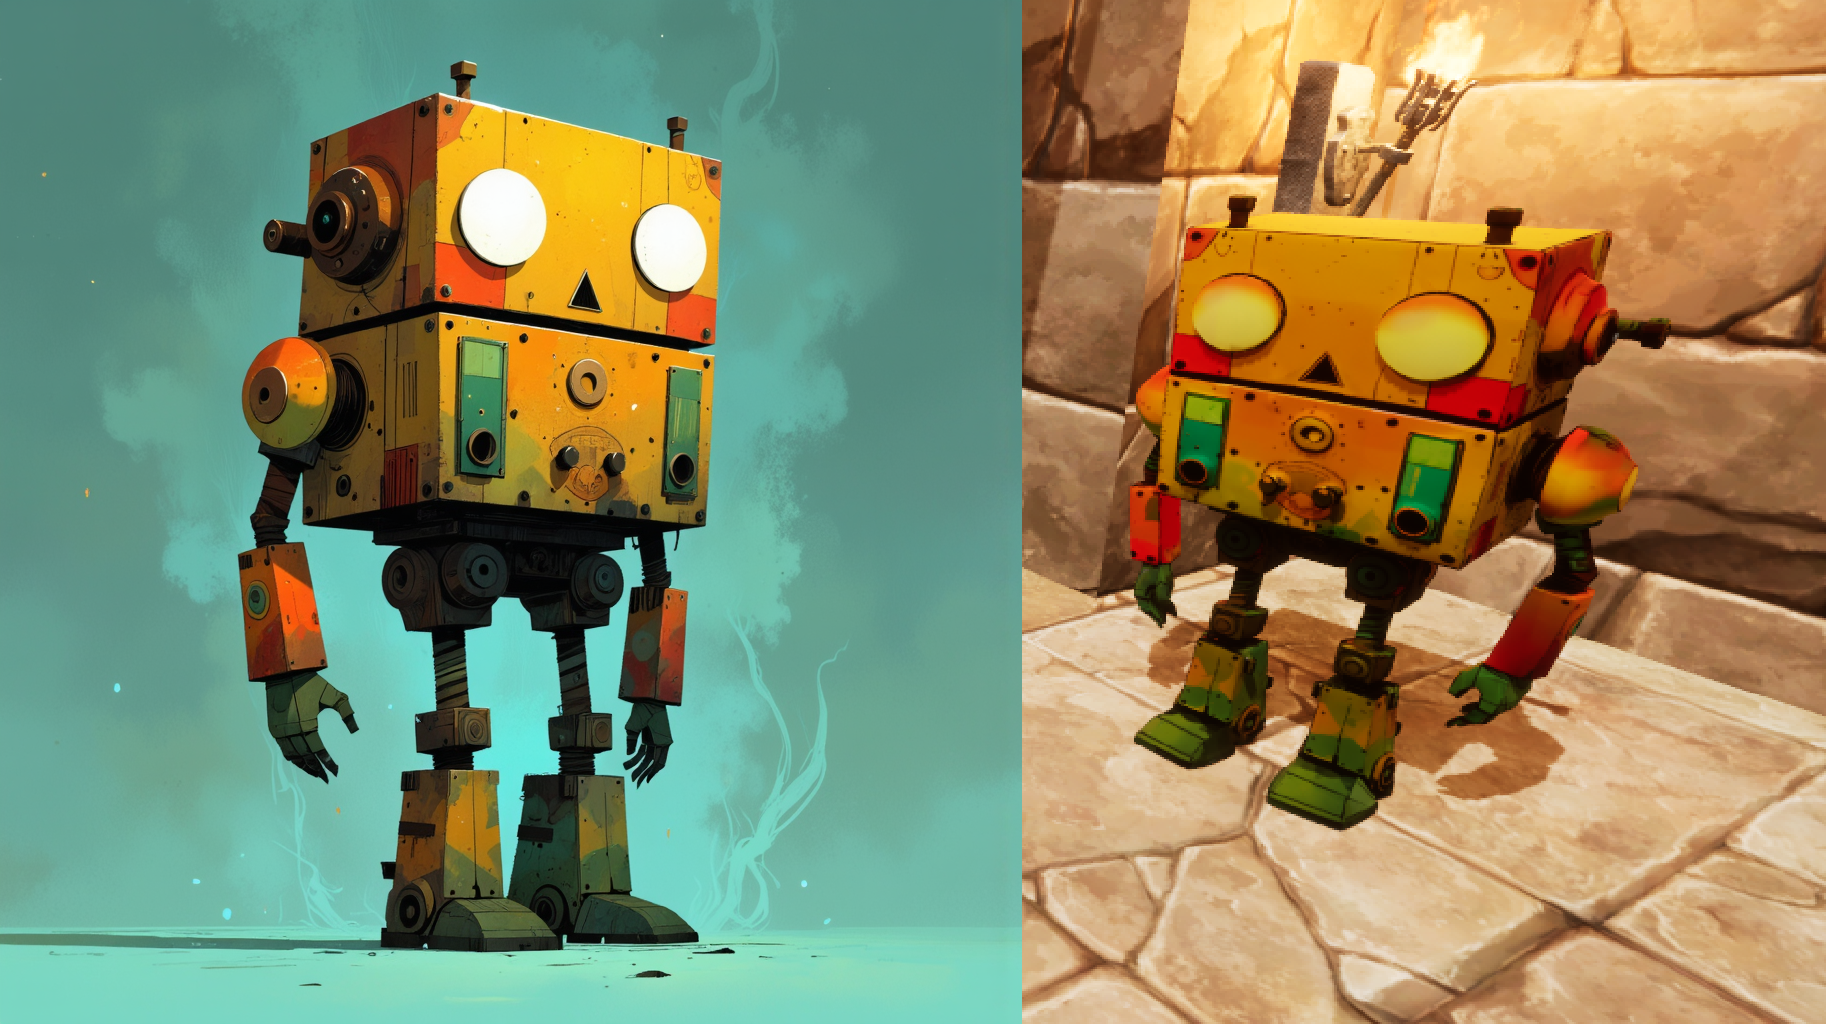
Hunyuan3D-2 + High res optimizations
But... why?I created this workflow because I thought I had pushed the limits of what Hunyuan 3d-2 could do, and someone stepped in and proved me completely wrong. Because of this, I fell through the rabbit hole in discovering what hy3d-2 was even capable of. I believe that even their demos did not understand that their quality could be significantly better.Base workflowThe base of this workflow belongs to Kijai. Please visit his github for instructions on how to get started.What's different?Kijai provided a great start, and I was able to build on that. It turns out - the 3d modeling part comes quickly and easily. The difficult part is texturing properly. I took a long time finding the correct camera flows, and how to upscale the textures so when they are painted on, they look significantly better.Reactor: allows a character to keep facial features.Ultimate SD Upscale - This allows me to push the texture to its limits while not being too liberal with changesGeneral upscaling - larger sizes are painted on, which allows a much tighter process.More Camera Angles - The way it works is multiple camera angles are selected, then it bakes them all in. I went in and added a few more, and optimized the rotation around it to what I thought achieved the best results.Granular approach - you can control how many vertices are on the object, and how big the texture turns out to be. a high res object is 3-4 MB and a low res object is more like 1MB. This means things like game assets can be kept small if necessary.Extra Shenanigans - Mapping the camera angles is very VRAM intensive, so it's difficult to get a high resolution. However, I was able to split the camera into parts, allowing larger resolutions, and thus more accurate texturing.PC specs - GTX 4090 with 64 GB RAMTime to generate - About 20 minutes, but significantly less if you decide not to upscale.