
FlashVSR Video Upscaling Workflow in ComfyUI + Beginner’s Guide

About this model
🧪 Beginner’s Guide: FlashVSR Video Upscaling Workflow in ComfyUI
This workflow is designed to upscale (increase the resolution of) videos using the AI-powered FlashVSR model, then reassemble the enhanced frames into a final high-quality video file. It’s ideal if you have low-resolution, blurry, or older footage that you want to sharpen and restore with modern deep learning techniques.
🔍 What Does This Workflow Do?
Loads a video → converts it into a sequence of individual image frames.
Processes all frames using the FlashVSR neural network (specifically
FlashVSR-v1.1) to upscale resolution by 2× while preserving motion coherence across frames.Reassembles the enhanced frames into a new video file with your chosen frame rate, format, and quality settings.
⚠️ Important: FlashVSR is a video-specific super-resolution model. Unlike frame-by-frame upscalers, it leverages temporal information from neighboring frames to produce smoother motion and fewer artifacts—resulting in significantly better visual quality.
🛠️ Step 1: Install Required Components
Prerequisites:
Installed ComfyUI (GitHub)
A GPU with at least 6–8 GB VRAM (NVIDIA recommended)
Python 3.10+
Required Custom Nodes:
1. ComfyUI-VideoHelperSuite
Adds nodes for loading and exporting videos.
cd ComfyUI/custom_nodes
git clone ComfyUI after installation.2. ComfyUI-FlashVSR
Enables integration with the FlashVSR model.
cd ComfyUI/custom_nodes
git clone may also need to install dependencies:pip install torch torchvision torchaudio --index-url
pip install opencv-python numpy einops
3. Download the FlashVSR-v1.1 Model
Place the model file in:
ComfyUI/models/flashvsr/
🔗 Model link (Hugging Face):
👉 FlashVSR-v1.1 on Hugging Face
The file should be named, for example: FlashVSR-v1.1.pth
If the flashvsr folder doesn’t exist, create it manually.
📂 Step 2: Prepare Your Input Video
Place your source video (e.g., input.mp4) into:
ComfyUI/input/
Use widely supported formats like MP4 (H.264) for best compatibility.
🧩 Step 3: Import the Workflow into ComfyUI
Open ComfyUI in your browser (typically at "Load" or drag-and-drop the provided JSON workflow file into the window.
The interface will load three connected nodes:
VHS_LoadVideoFFmpeg (left)
FlashVSRNode (center)
VHS_VideoCombine (right)
⚙️ Step 4: Configure Settings
🔹 Node: VHS_LoadVideoFFmpeg (Video Loader)
video: Select your input file from the dropdown (refresh the page if it doesn’t appear).
force_rate: Keep as 0 to preserve the original frame rate.
force_size: Set to Disabled unless you need to resize before upscaling.
frame_load_cap: Use 0 to process the full video. For testing, enter a small number (e.g., 50) to limit processing to the first 50 frames.
💡 Tip: Start with a short 5–10 second clip to test performance and quality.
🔹 Node: FlashVSRNode (AI Upscaling)
![]()
🔹 Node: VHS_VideoCombine (Video Exporter)
![]() 💾 Final video location:
💾 Final video location:
ComfyUI/output/MyUpscaledVideo_00001.mp4
🔎 Critical note on frame_rate:
If you set this incorrectly, your video will play too fast or too slow.
Example: 240 frames at 24 fps = 10 seconds. If exported at 32 fps → plays in 7.5 seconds (33% faster).
Always match the original frame rate to preserve timing.
✅ Advantages of This Workflow
Superior quality: Temporal consistency reduces flickering and ghosting.
Memory-efficient: Tiled processing allows handling HD videos on mid-range GPUs.
Fully integrated: Works seamlessly within ComfyUI’s visual programming environment.
Free and open-source: No subscription or watermark.
❌ Limitations & Drawbacks
Only 2× upscaling — no 3× or 4× support in v1.1.
High VRAM demand: Even in tiny mode, long videos may exceed GPU memory.
No audio passthrough: Sound is not included in the output (add it later via FFmpeg or editing software).
Trained on real-world footage: May underperform on anime, cartoons, or heavily compressed sources.
Slow processing: ~5–15 minutes per minute of video (depending on hardware).
🛑 Common Issues & Fixes
![]()
💡 Pro Tips for Best Results
Use stable, well-lit footage — FlashVSR struggles with extreme noise or motion blur.
Avoid very dark or overexposed scenes — the model may hallucinate incorrect details.
For animation/anime, consider alternative models like Real-ESRGAN or Anime4K.
After upscaling, apply light sharpening in DaVinci Resolve or Premiere Pro for extra crispness.
▶️ How to Run the Workflow
Adjust all settings as described.
Click “Queue Prompt”.
Wait for completion (monitor progress in the terminal).
Find your result in ComfyUI/output/ or preview it directly under the VHS_VideoCombine node.
🔚 Final Thoughts
This workflow offers a powerful, accessible way to breathe new life into old or low-quality videos using state-of-the-art AI. While it requires some initial setup, following this guide will help even complete beginners achieve professional-grade results.
🎨 If you’re a digital artist (as suggested by your creative interests), this tool can enhance animated teasers, cosmic cat animations, or promotional reels for your workshops—ensuring your visual storytelling shines in full clarity.
Happy creating!
Related Models
Similar AI models you may like

CyberRealistic
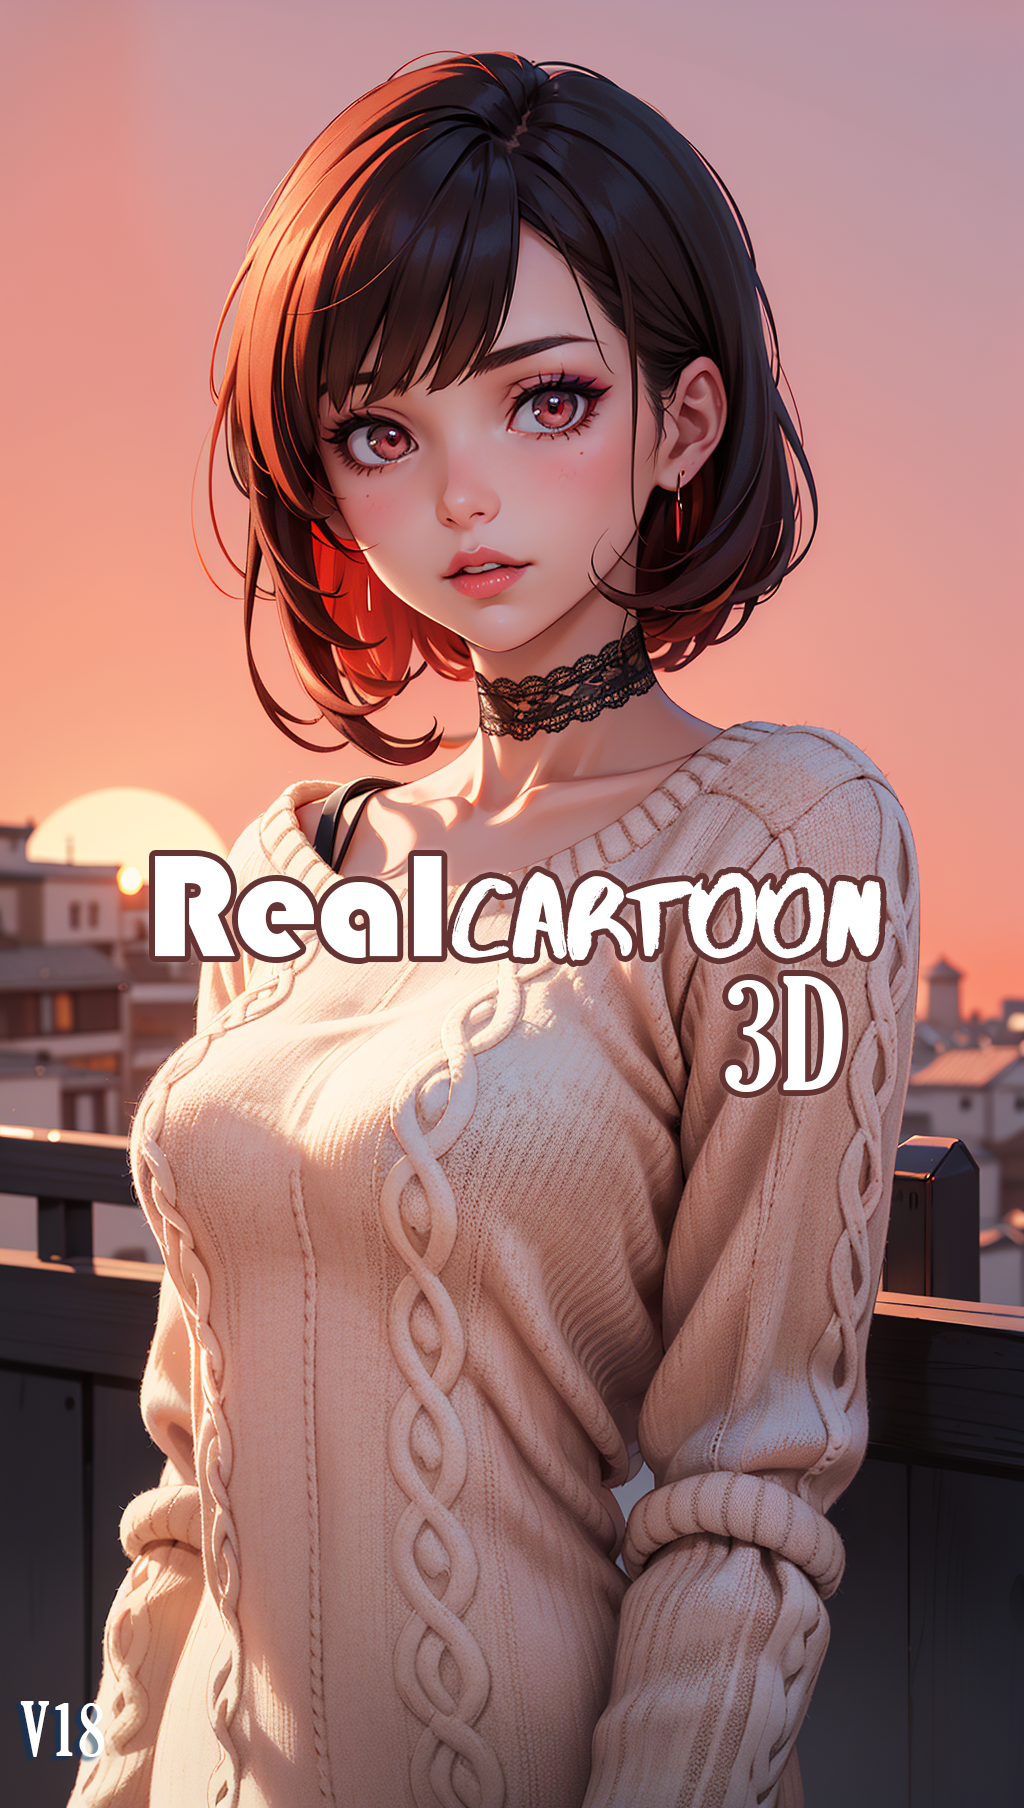
RealCartoon3D
ON-THE-FLY 实时生成!Wan-AI 万相/ Wan2.1 Video Model (multi-specs) - CausVid&Comfy&Kijai - workflow included
MIHOYO Collection 米家全家桶 (Honkai Impact 3rd | Honkai Star Rail | Genshin Impact | Zenless Zone Zero)

【WAN2.1】IMG to VIDEO

CyberRealistic Classic

t3
