
ComfyUI Face Swap Workflow
About this model
(Leave a comment if you have trouble installing the custom nodes/dependencies, I'll do my best to assist you!)
This simple workflow consists of two main steps: first, swapping the face from the source image to the input image (which tends to be blurry), and then restoring the face to make it clearer. Feel free to customize the fidelity value to your preference; I've initially set it to a default of 1.000.
If you’ve found my work helpful, consider buying a coffee to show your support. Thank you! id="heading-98">Prerequisites (Custom Nodes):
You can install either of these custom nodes using ComfyUI Manager or clone them with Git:
ReActor Node for ComfyUI: CF (Code Former): />
Installation guides (as provided on their respective GitHub pages):
ReActor:
1. Go to the
ComfyUI\custom_nodesdirectory.2. Open the Console and run the following command:
git clone Run
install.bat.4. Run ComfyUI and find the ReActor Node inside the menu under "image/postprocessing" or by using the search function.
Facerestore CF:
Git clone this node to the
ComfyUI/custom_nodesfolder:cd ComfyUI/custom_nodes
git clone you are running the portable Windows version of ComfyUI, run
embedded_install.bat. Windows users not running the portable version can runinstall.bat. Linux and macOS users can runinstall.sh. If the installation fails for any reason, you will need to manually installopencv-pythonto resolve a "cv2 not found" error.
Face Restoration Models
These models perform the face restoration. If you use automatic1111 you probably already have them but if not here are the download links. Just put them in models/facerestore_models/
detection models
The face restoration model only works with cropped face images. A face detection model is used to send a crop of each face found to the face restoration model. These will automaticly be downloaded and placed in models/facedetection the first time each is used. Here's the links if you'd rather download them yourself.
also gets downloaded and put in the facedetection folder. It's used to put the restored faces back into the original image.
Related Models
Similar AI models you may like
Juggernaut XL
万象熔炉 | Anything XL
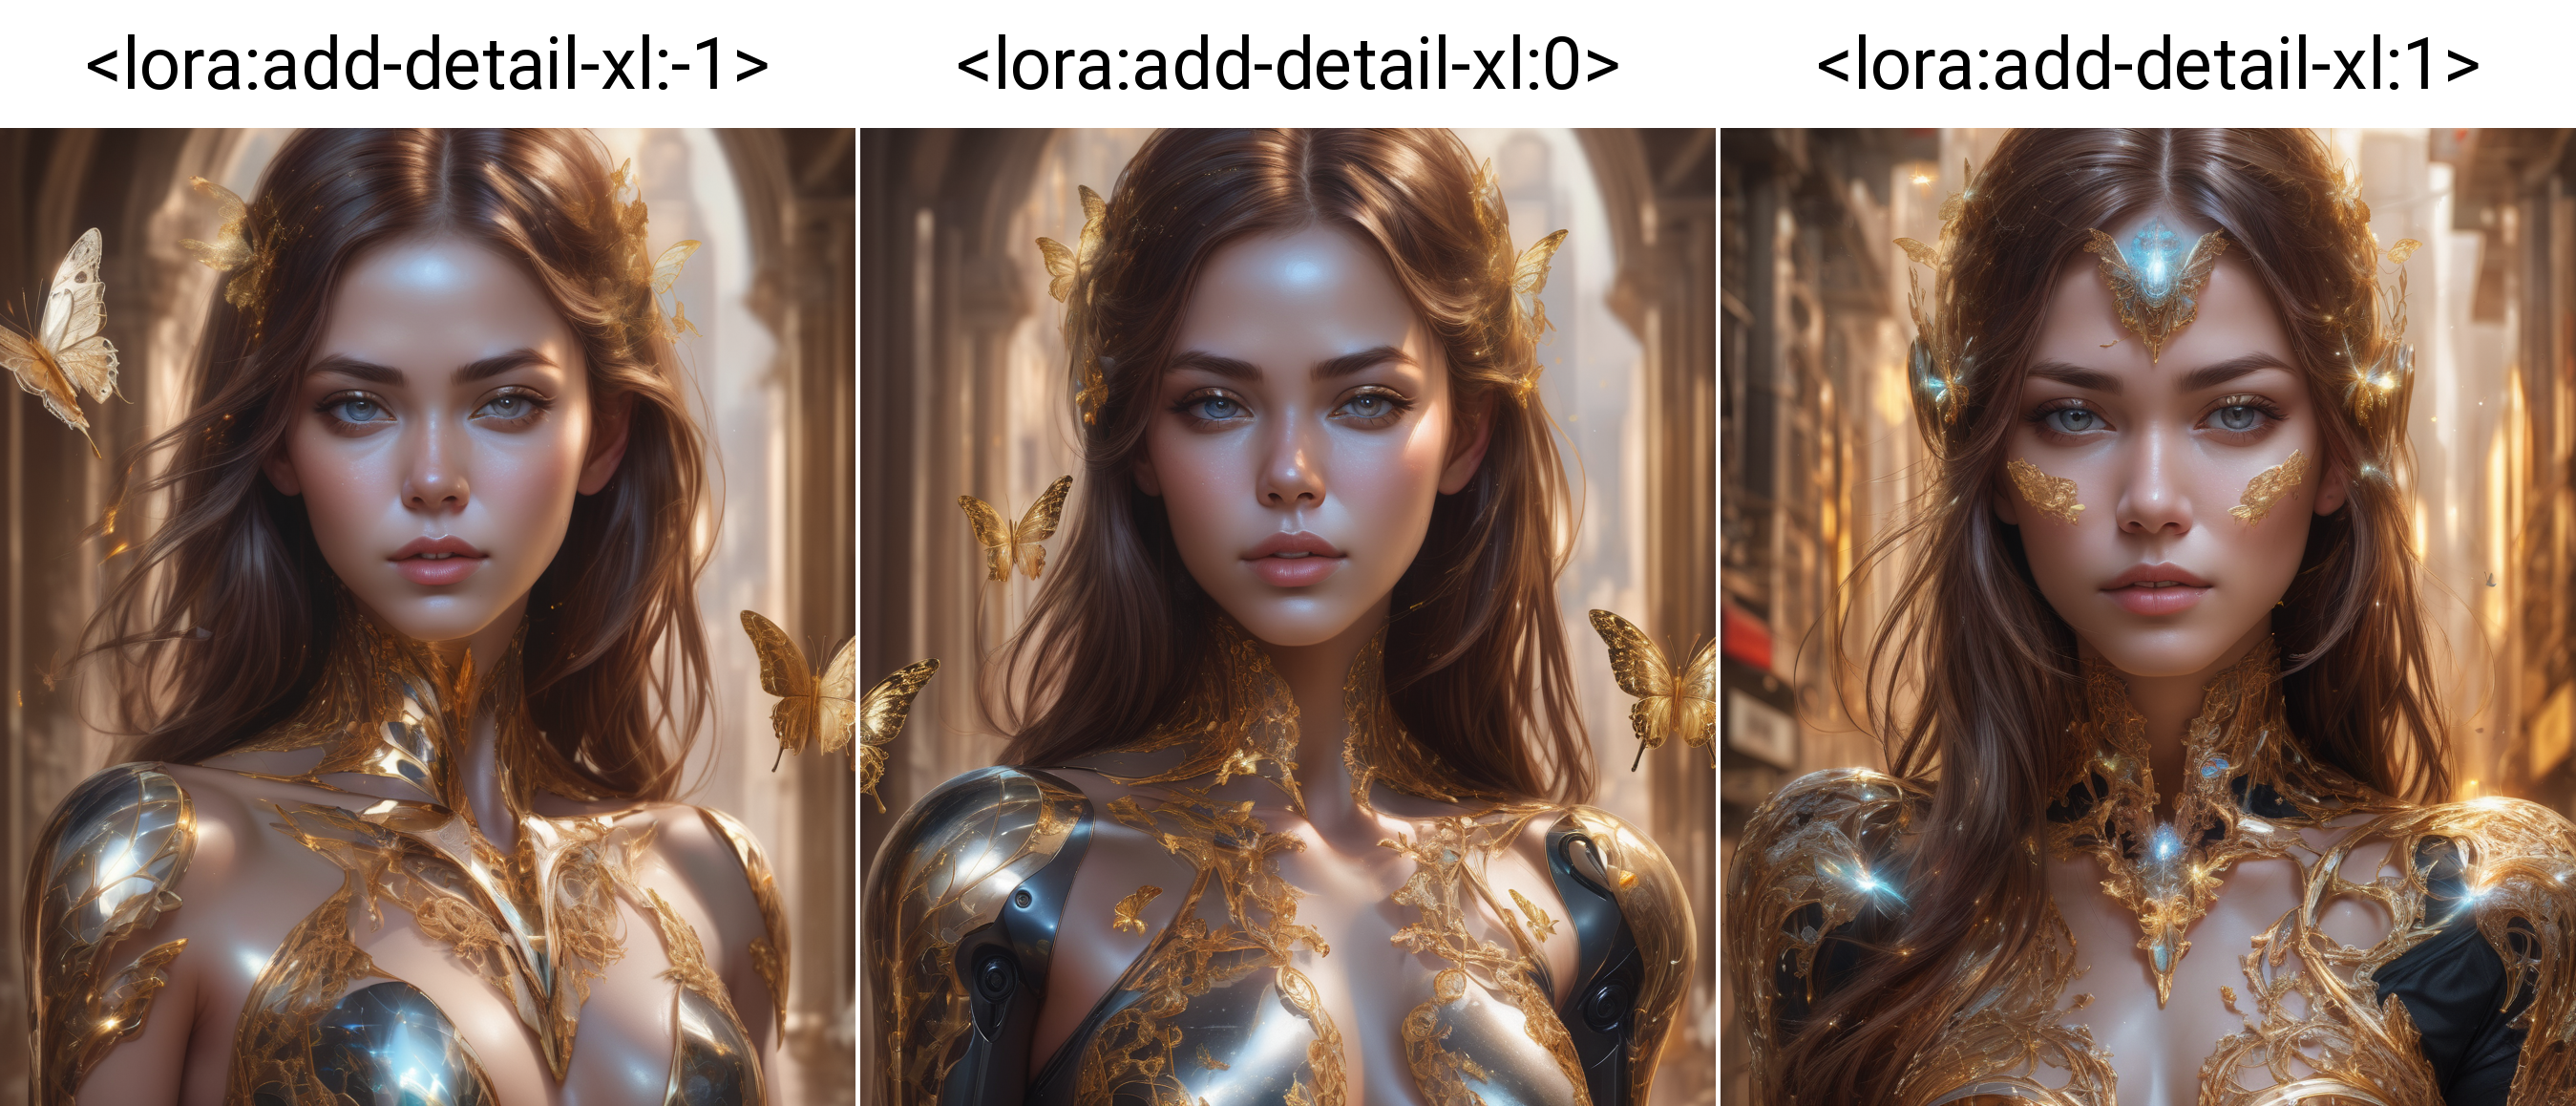
Detail Tweaker XL

Animagine XL V3.1

All Disney Princess XL LoRA Model from Ralph Breaks the Internet

FLUX.1-DEV & Kontext Workflows Megapack

【WAN2.1】IMG to VIDEO
